Cài đặt CodeDeploy Agent
- Thực hiện SSH vào EC2

- Sau đó, cài đặt CodeDeploy Agent
sudo yum update -y
sudo yum install ruby -y
sudo yum install wget -y
/opt/codedeploy-agent/bin/codedeploy-agent stop
sudo yum erase codedeploy-agent -y
cd /home/ec2-user/
wget https://bucket-name.s3.region-identifier.amazonaws.com/latest/install
chmod +x ./install
sudo ./install auto
- bucket name: là tên của Amazon S3 bucket chứa các file CodeDeploy Resource Kit.
- region-identifier: ví dụ như sau
wget https://aws-codedeploy-ap-southeast-1.s3.ap-southeast-1.amazonaws.com/latest/install
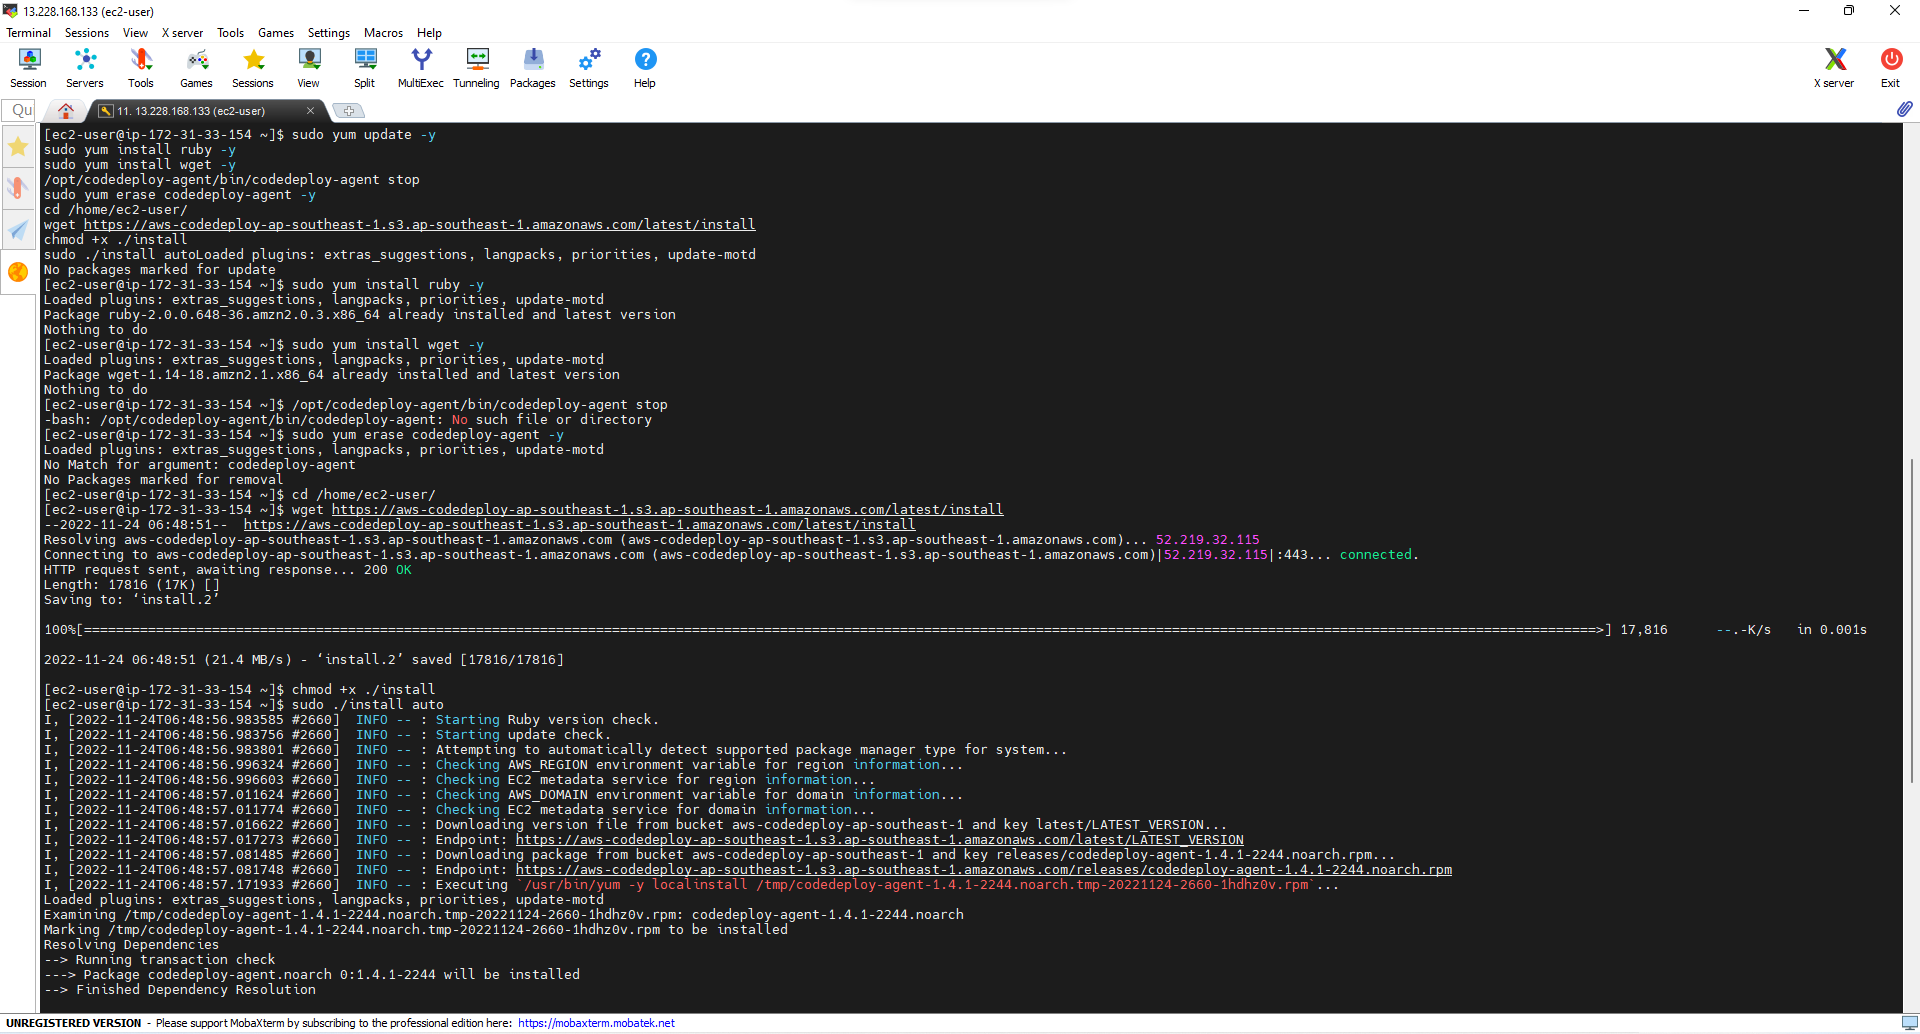
- Kiểm tra service đang chạy, sử dụng lệnh sau:
sudo service codedeploy-agent status
- Nếu như service gặp lỗi hoặc không chạy, sử dụng lệnh sau để khởi động service:
sudo service codedeploy-agent start
sudo service codedeploy-agent status

- Thực hiện di chuyển đến thư mục tmp
cd /tmp
ls

- Cài đặt git để clone resource về:
sudo yum install git
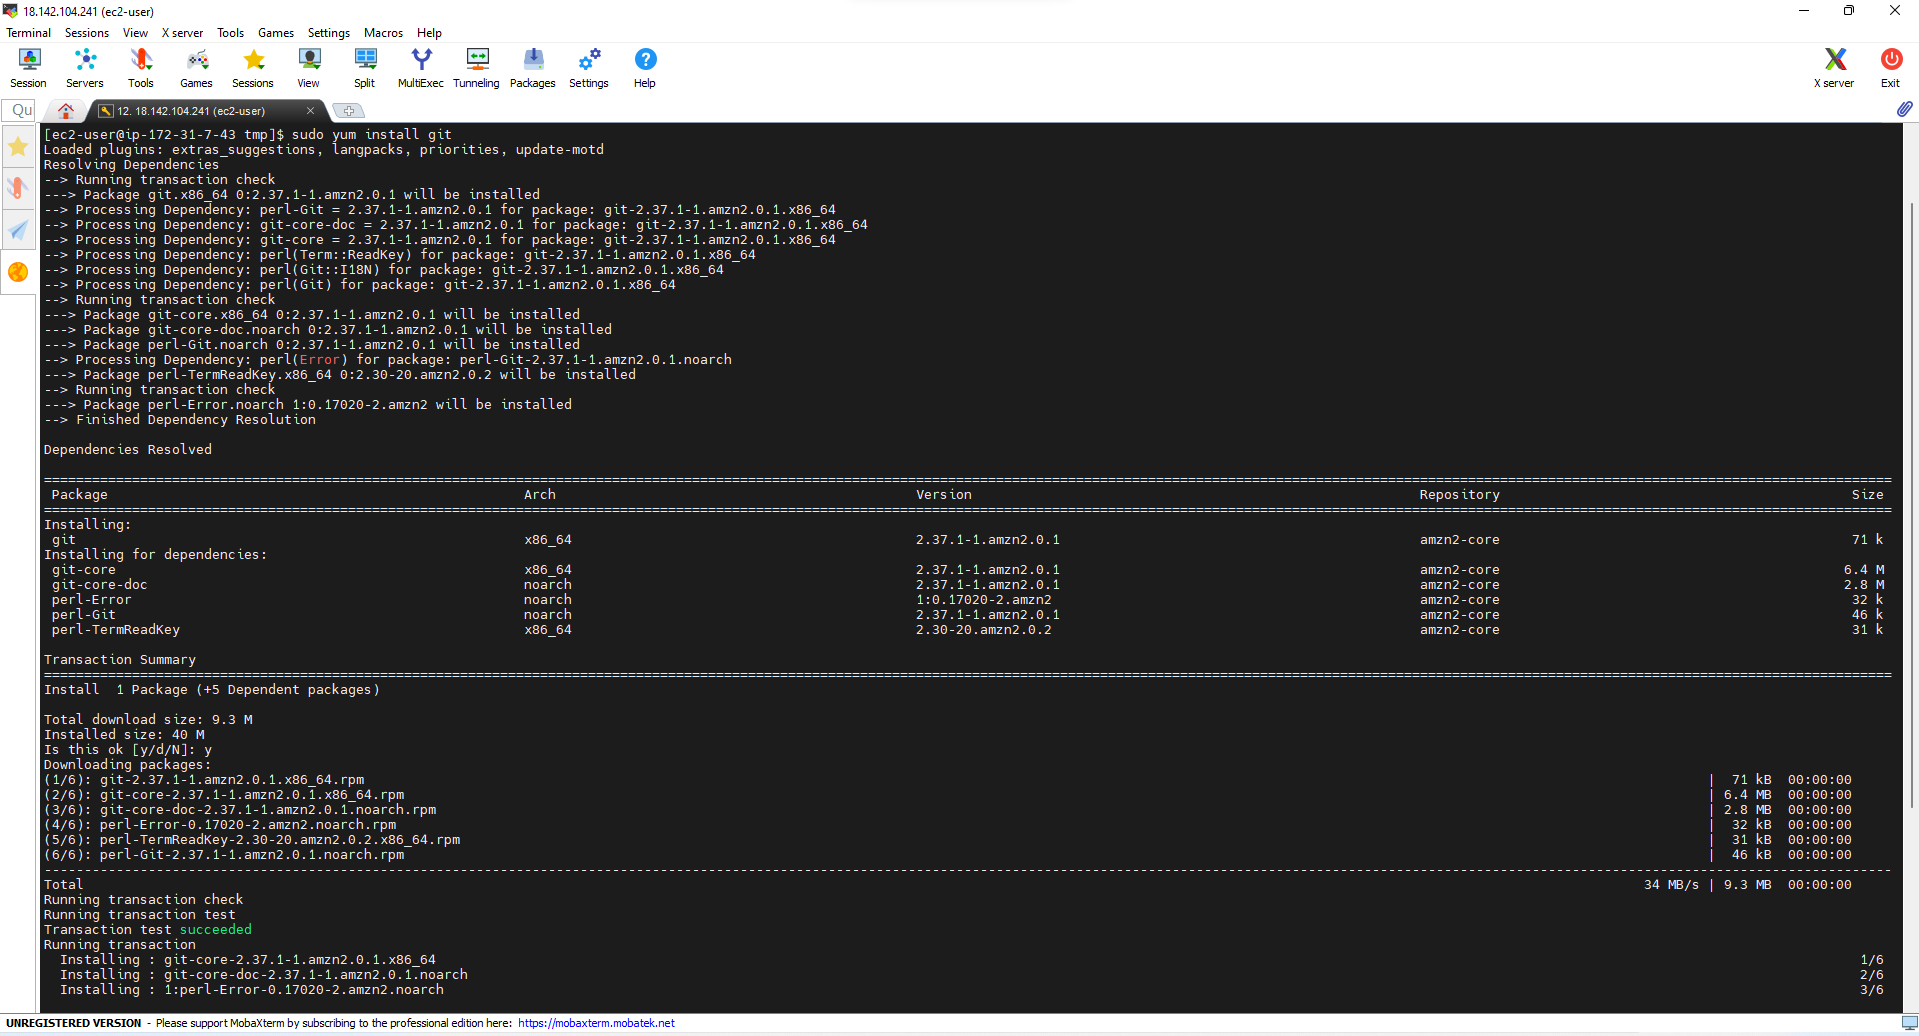
- Thực hiện clone mã nguồn WordPress.
git clone https://github.com/Hieu192/WordPress

- Sau khi clone mã nguồn WordPress:
- Bạn thực hiện di chuyển đến thư mục:
ls
cd WordPress
ls
cat appspec.yml
- Bạn cũng có thể xem nội dung của file
appspec.yml dùng để cấu hình lifecycle deploy.
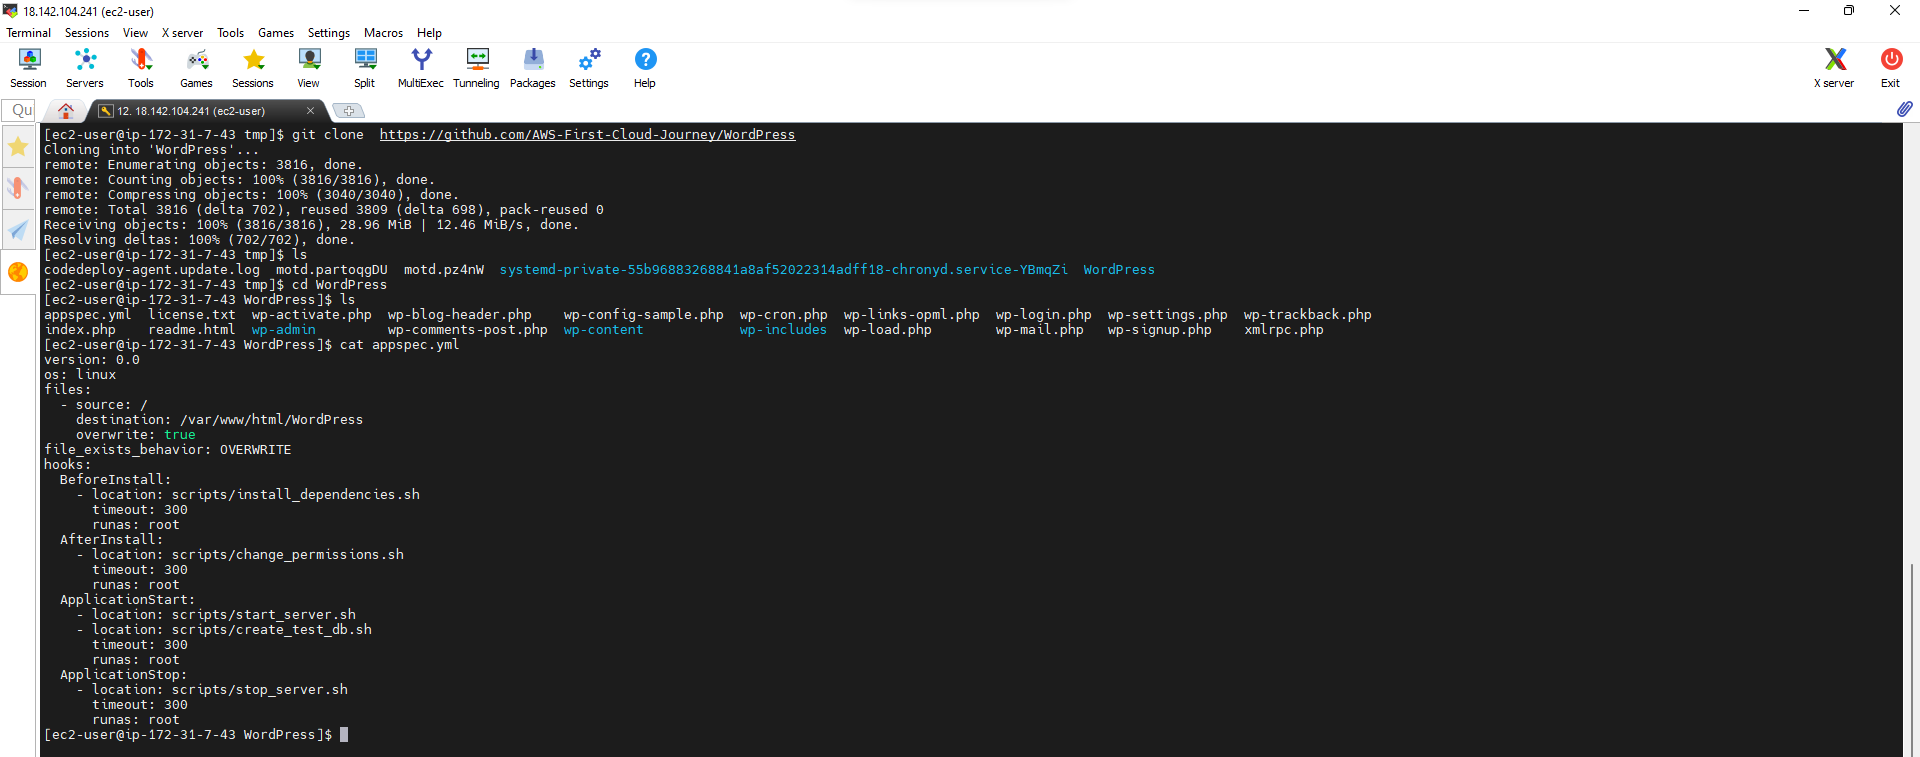
- Thực hiện clone các file script trong cấu hình file appspec.yml
git clone https://github.com/Hieu192/scripts
