Deploy WordPress Application
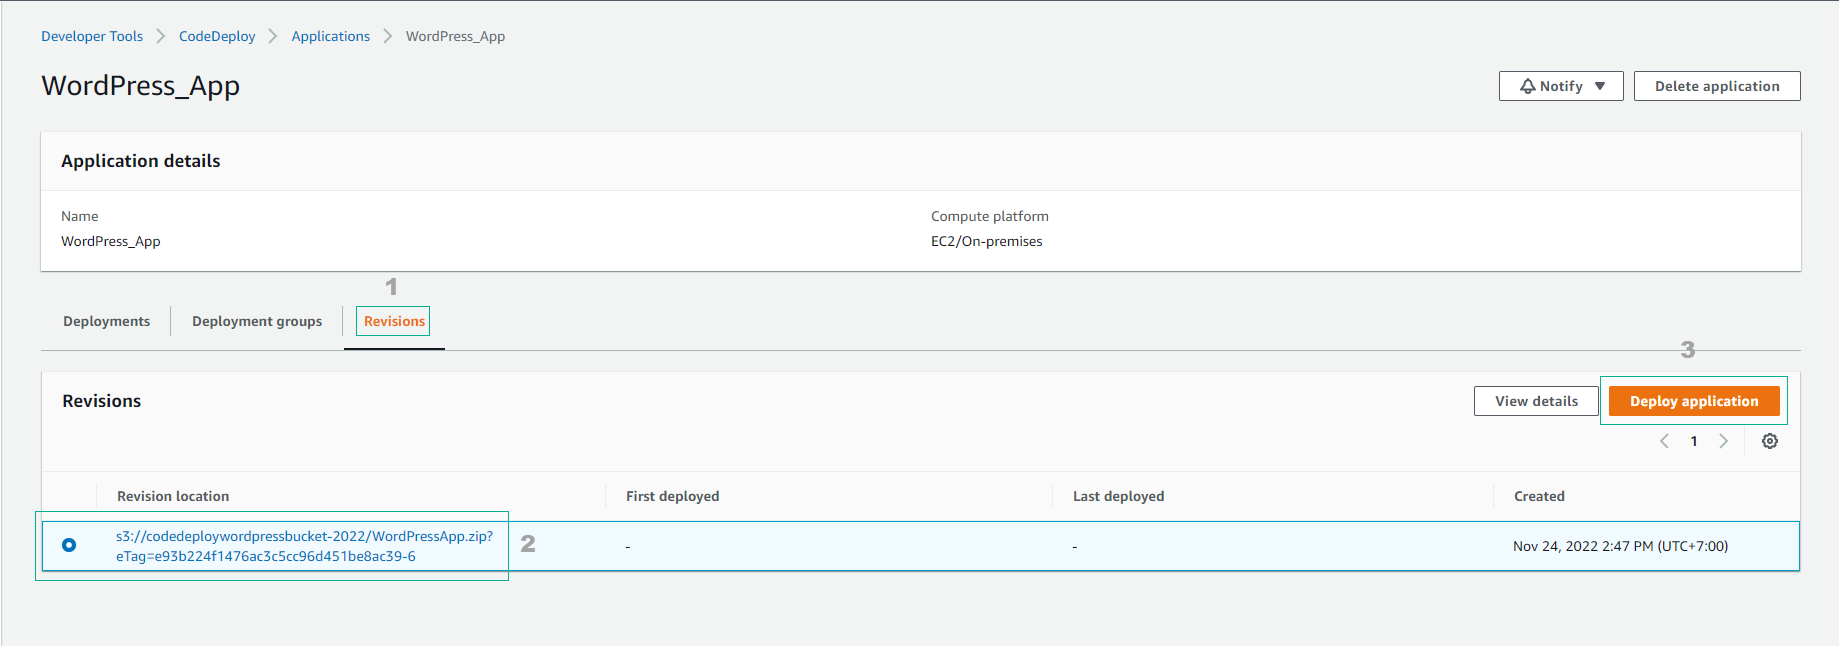
Go back to the application interface
- Select Revisions
- Select Deploy application
In the deployment interface
- Select the created deployment group.
- Select My application is stored in Amazon S3
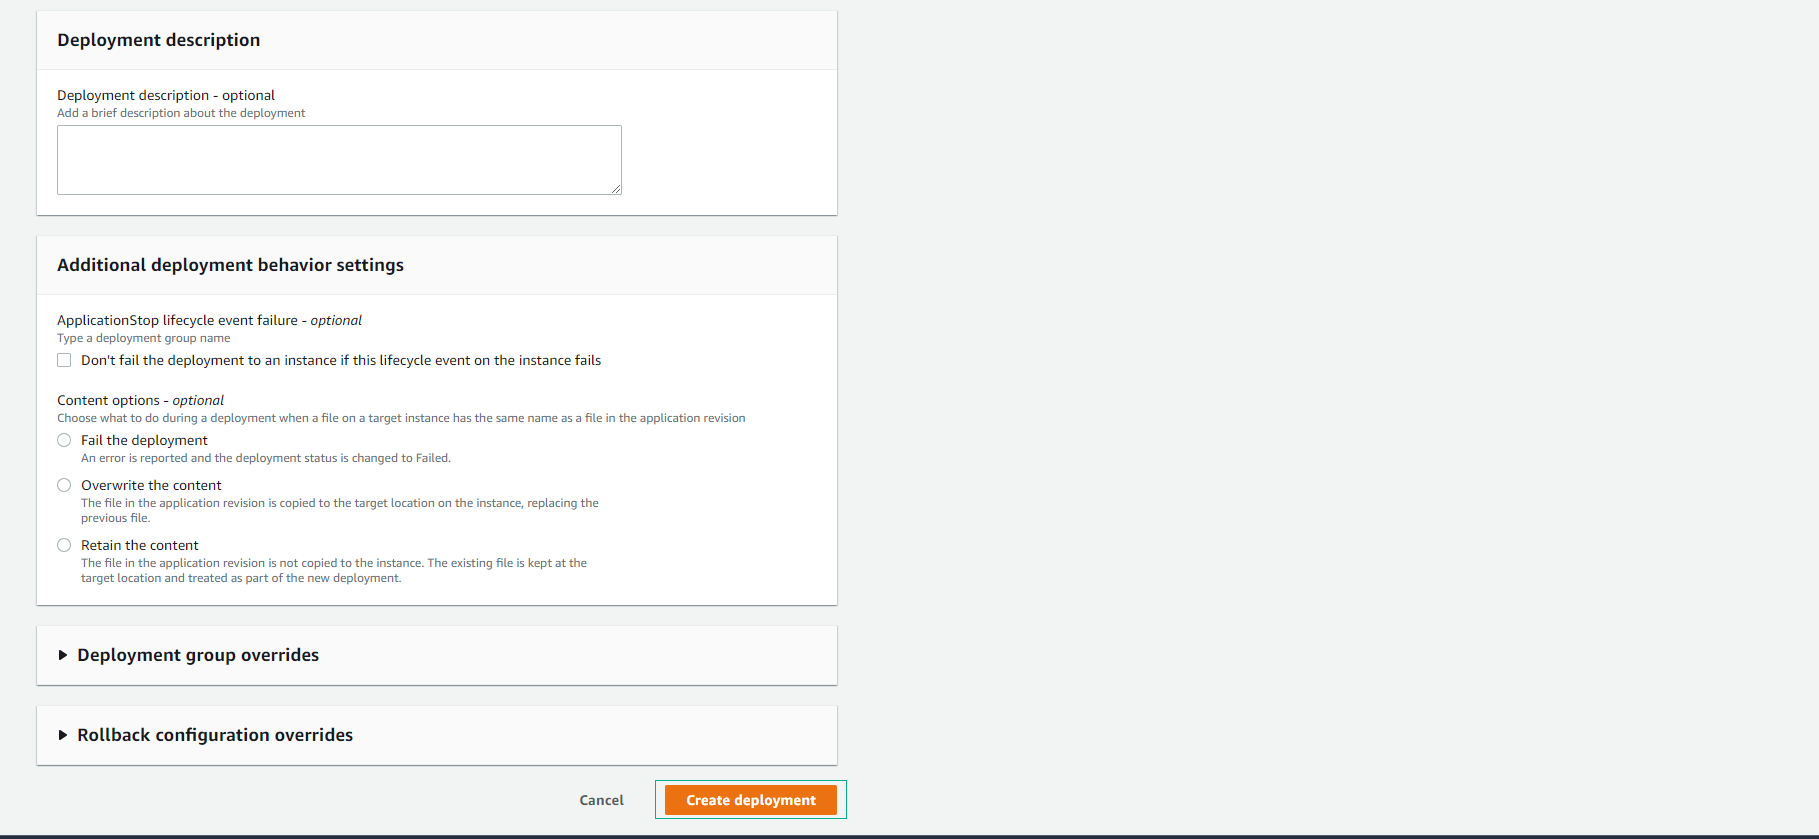
- Leave the remaining as default configurations.
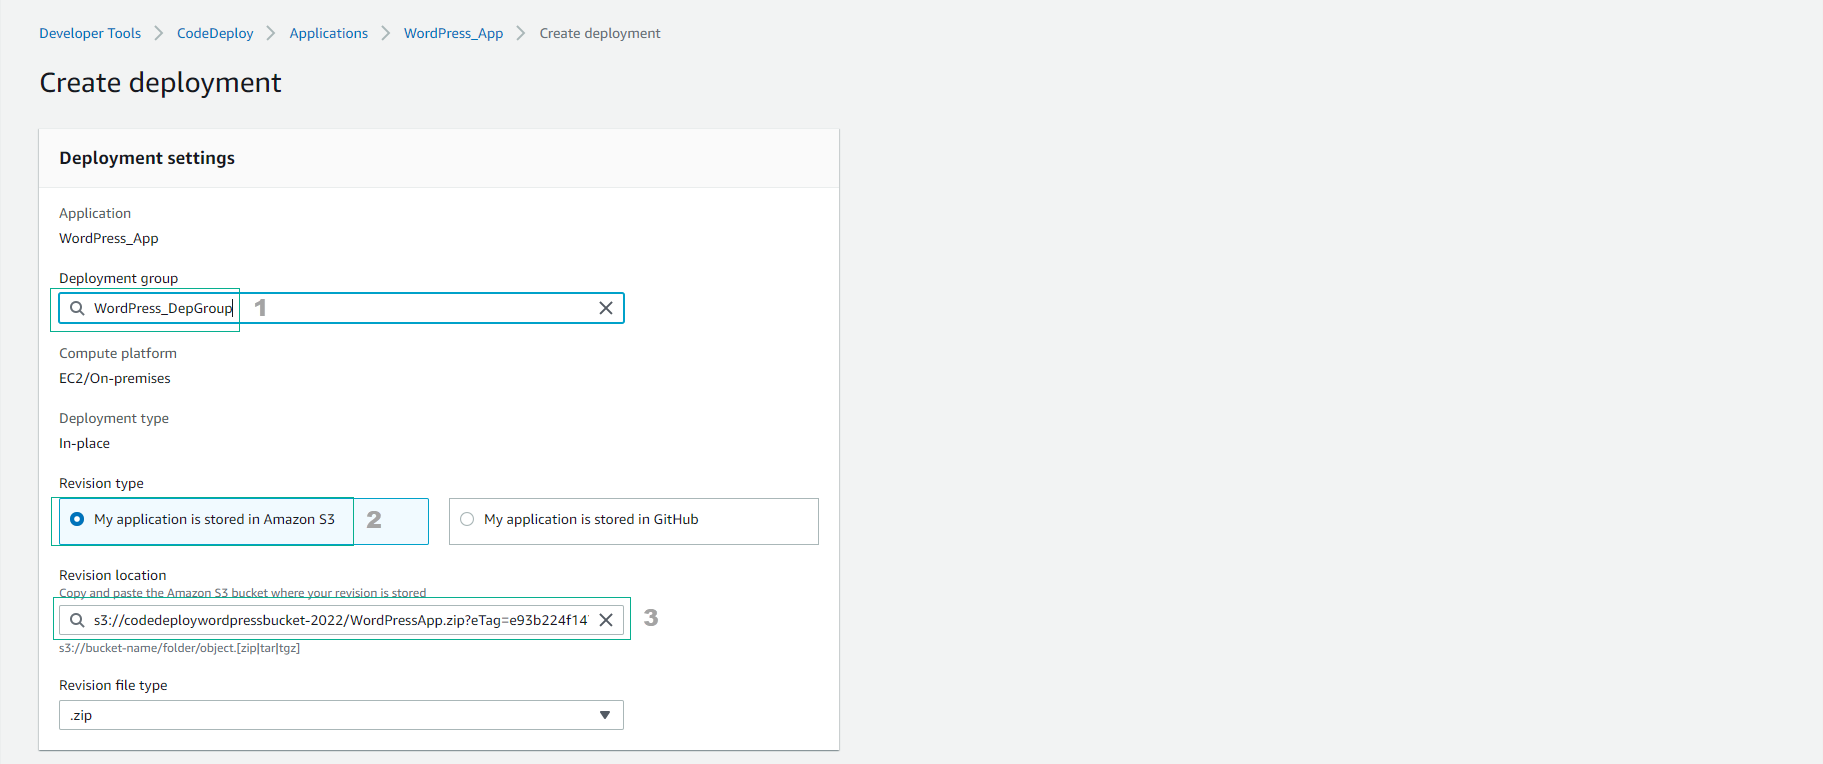
- Select Create deployment
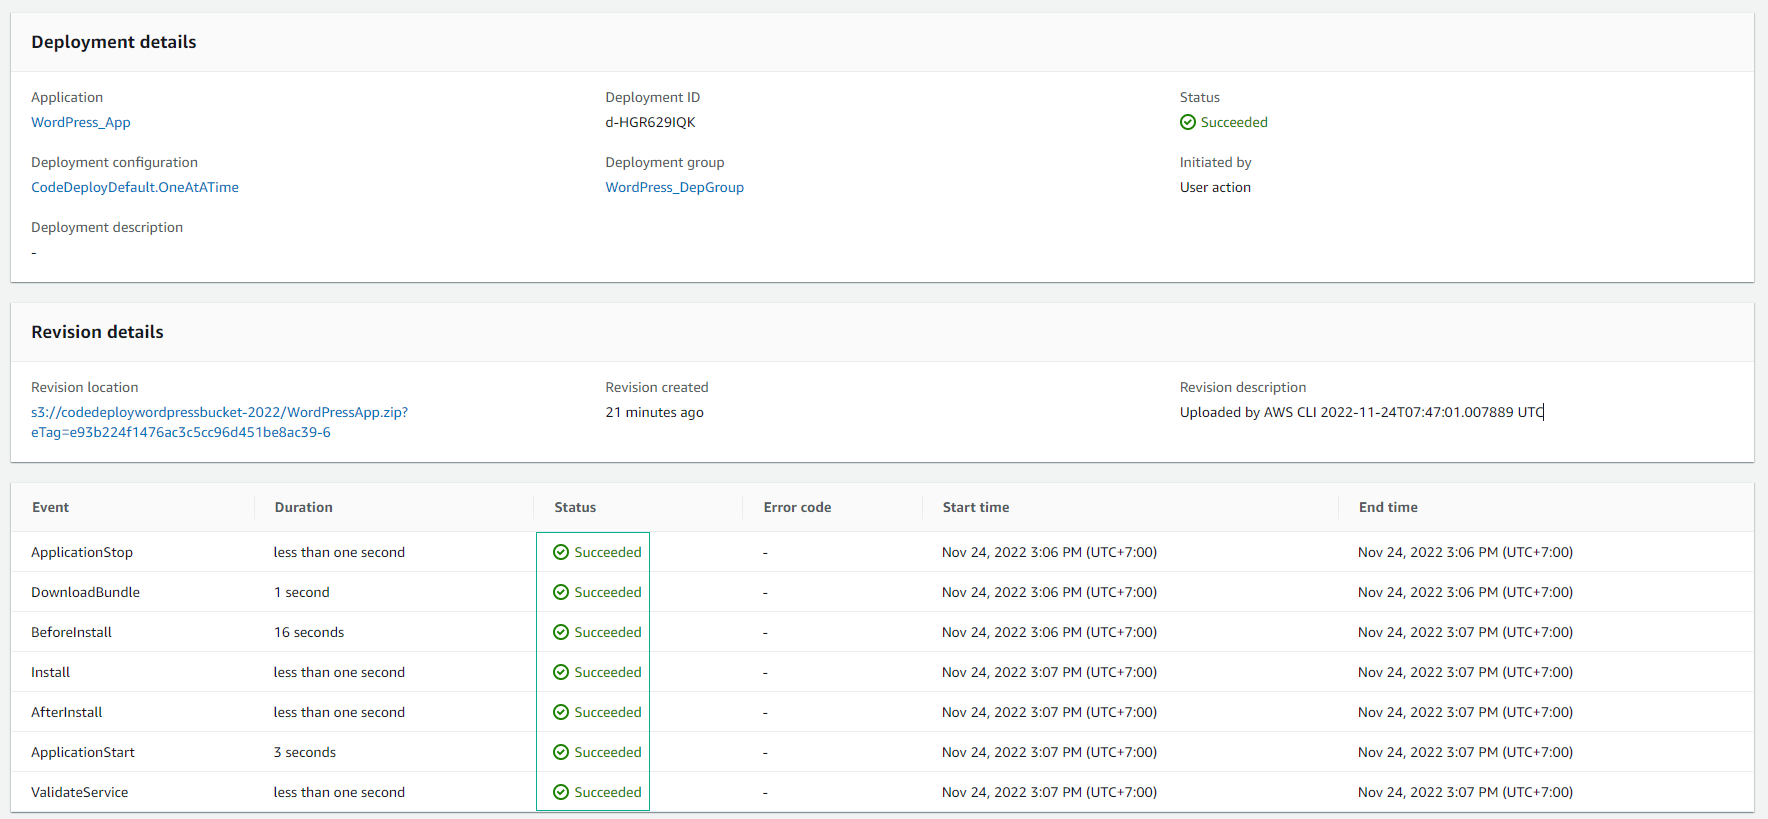
- Deployment successful.
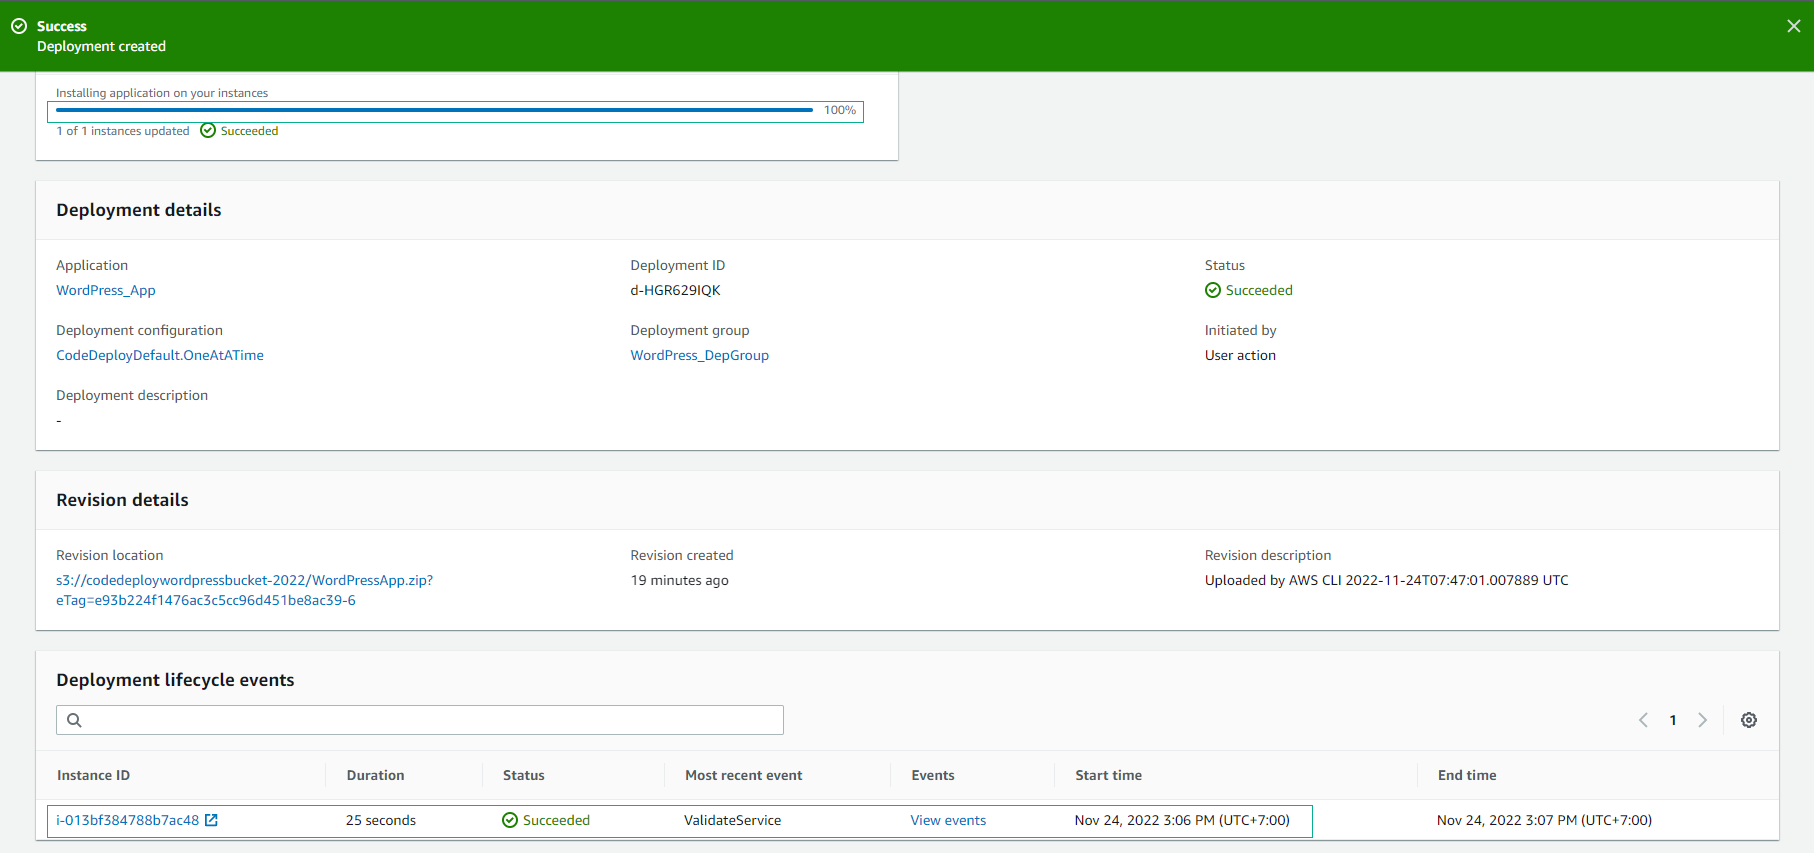
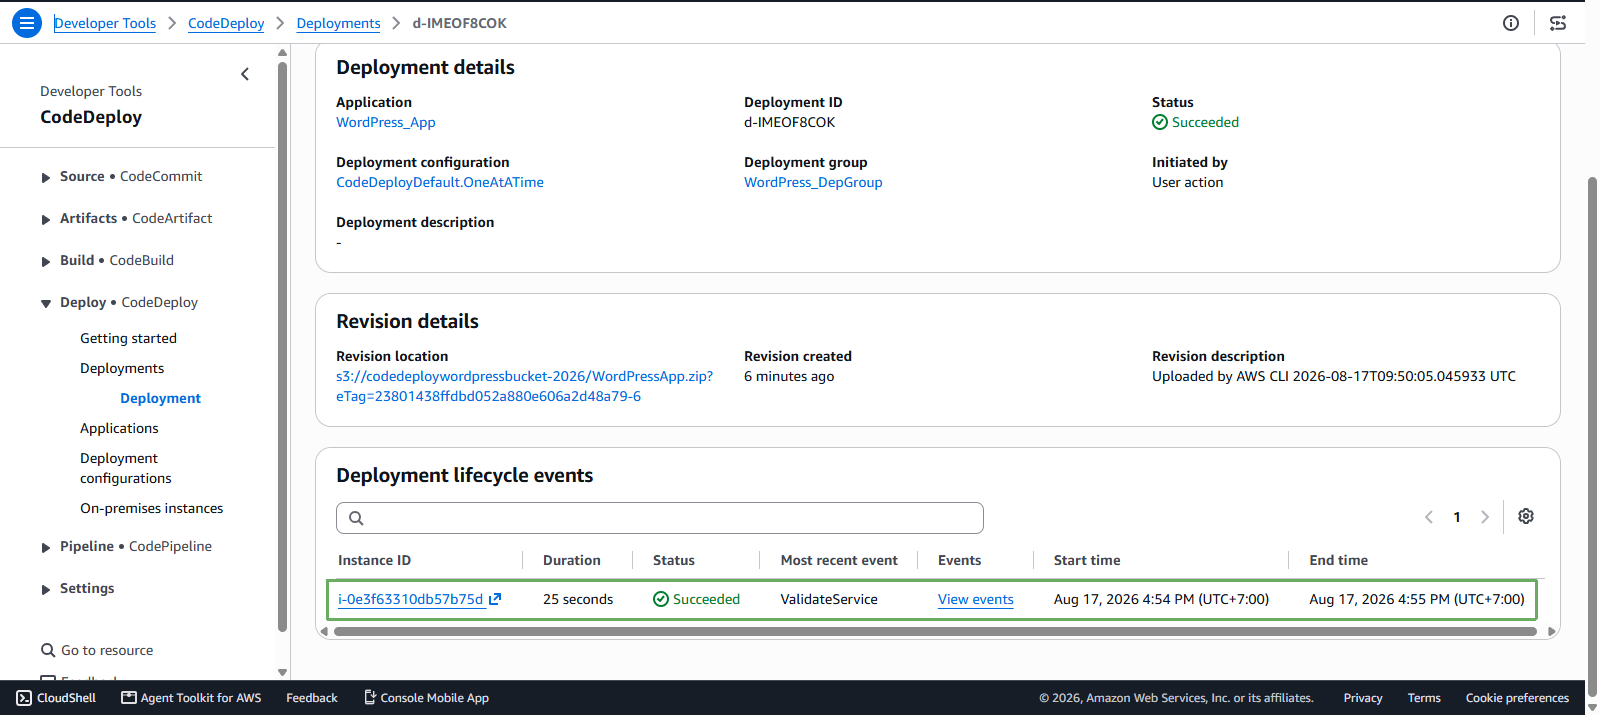
- View detailed deployment events.
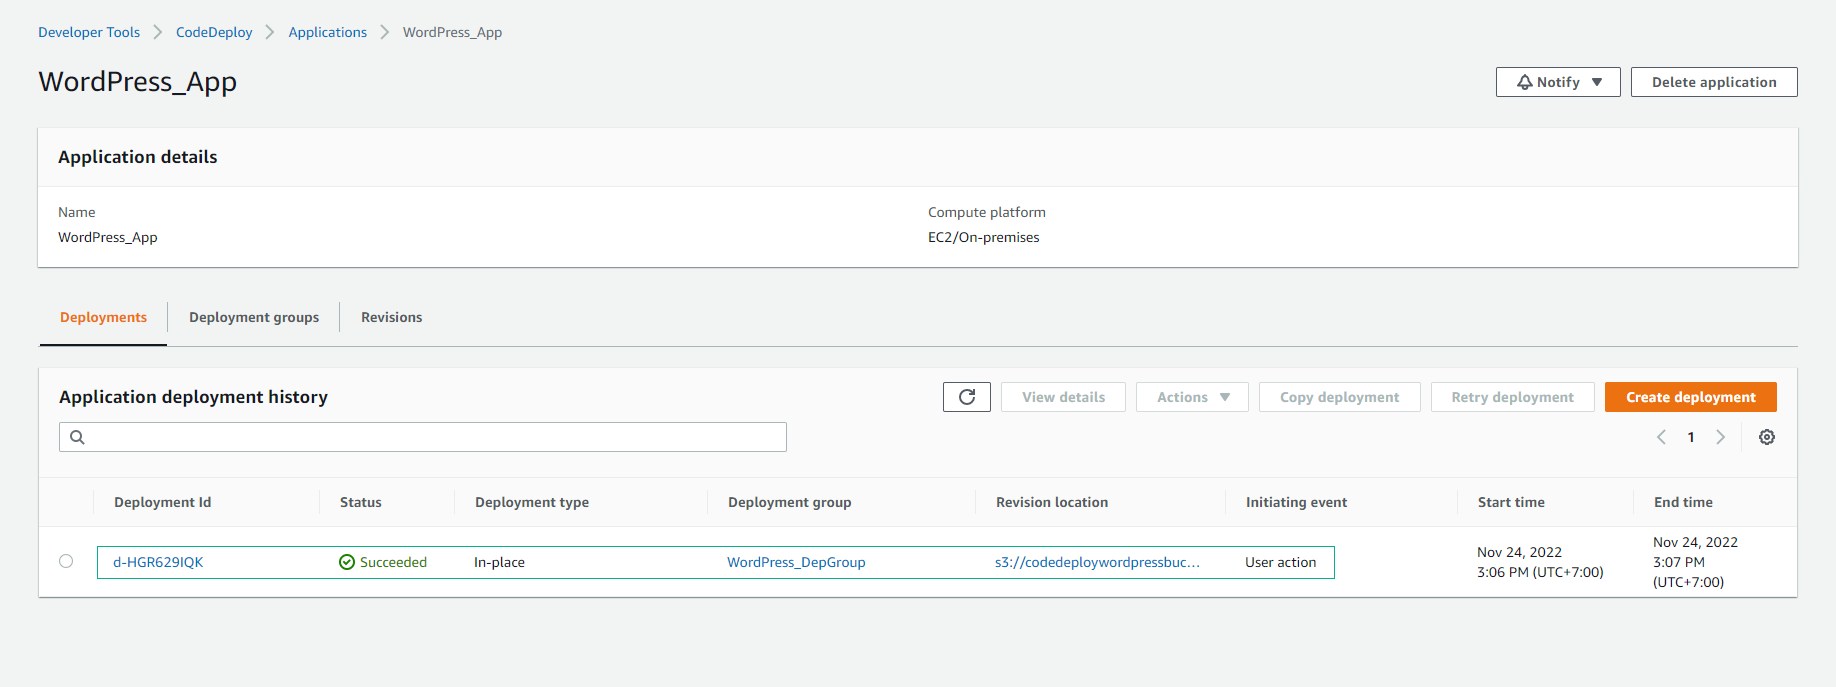
- View the deployment history regarding the successful deployment.

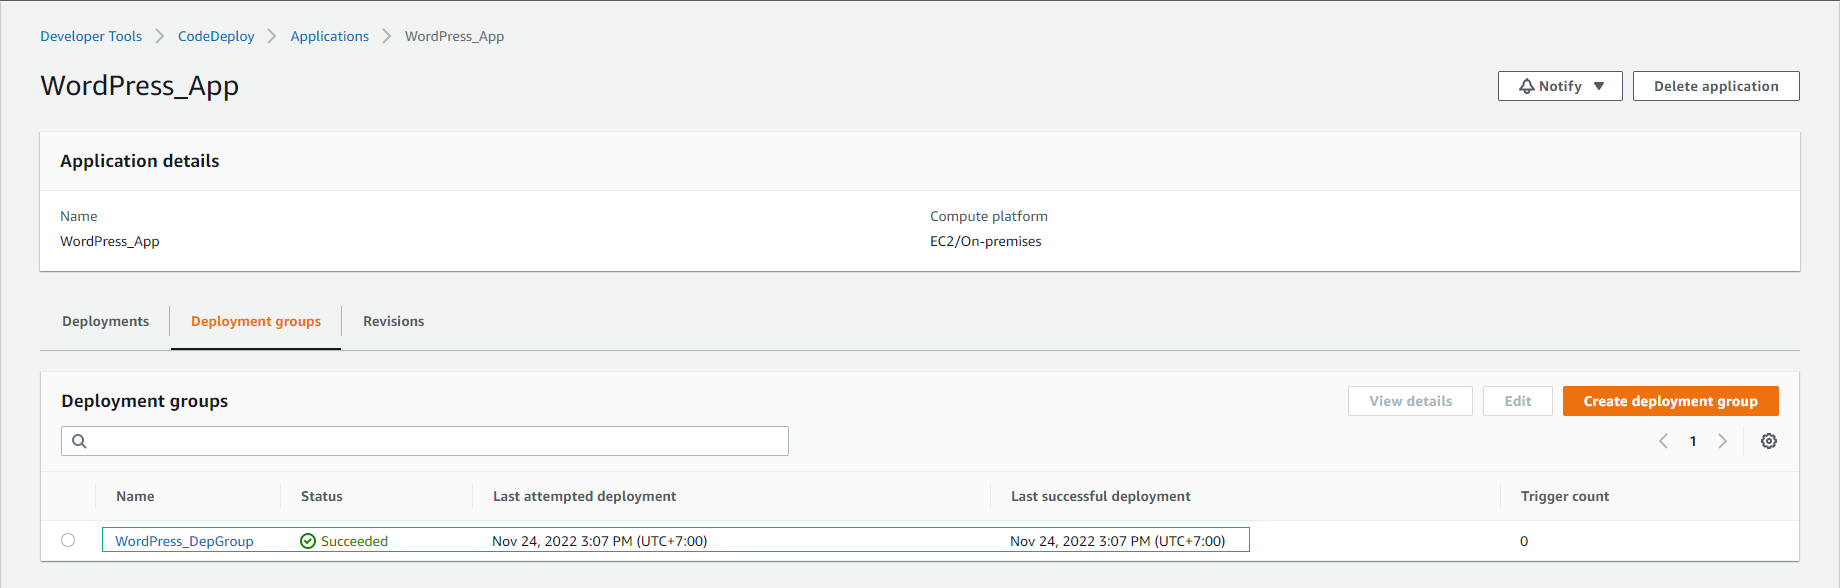
- View the deployment group successfully deployed.
- View the application deployed successfully.
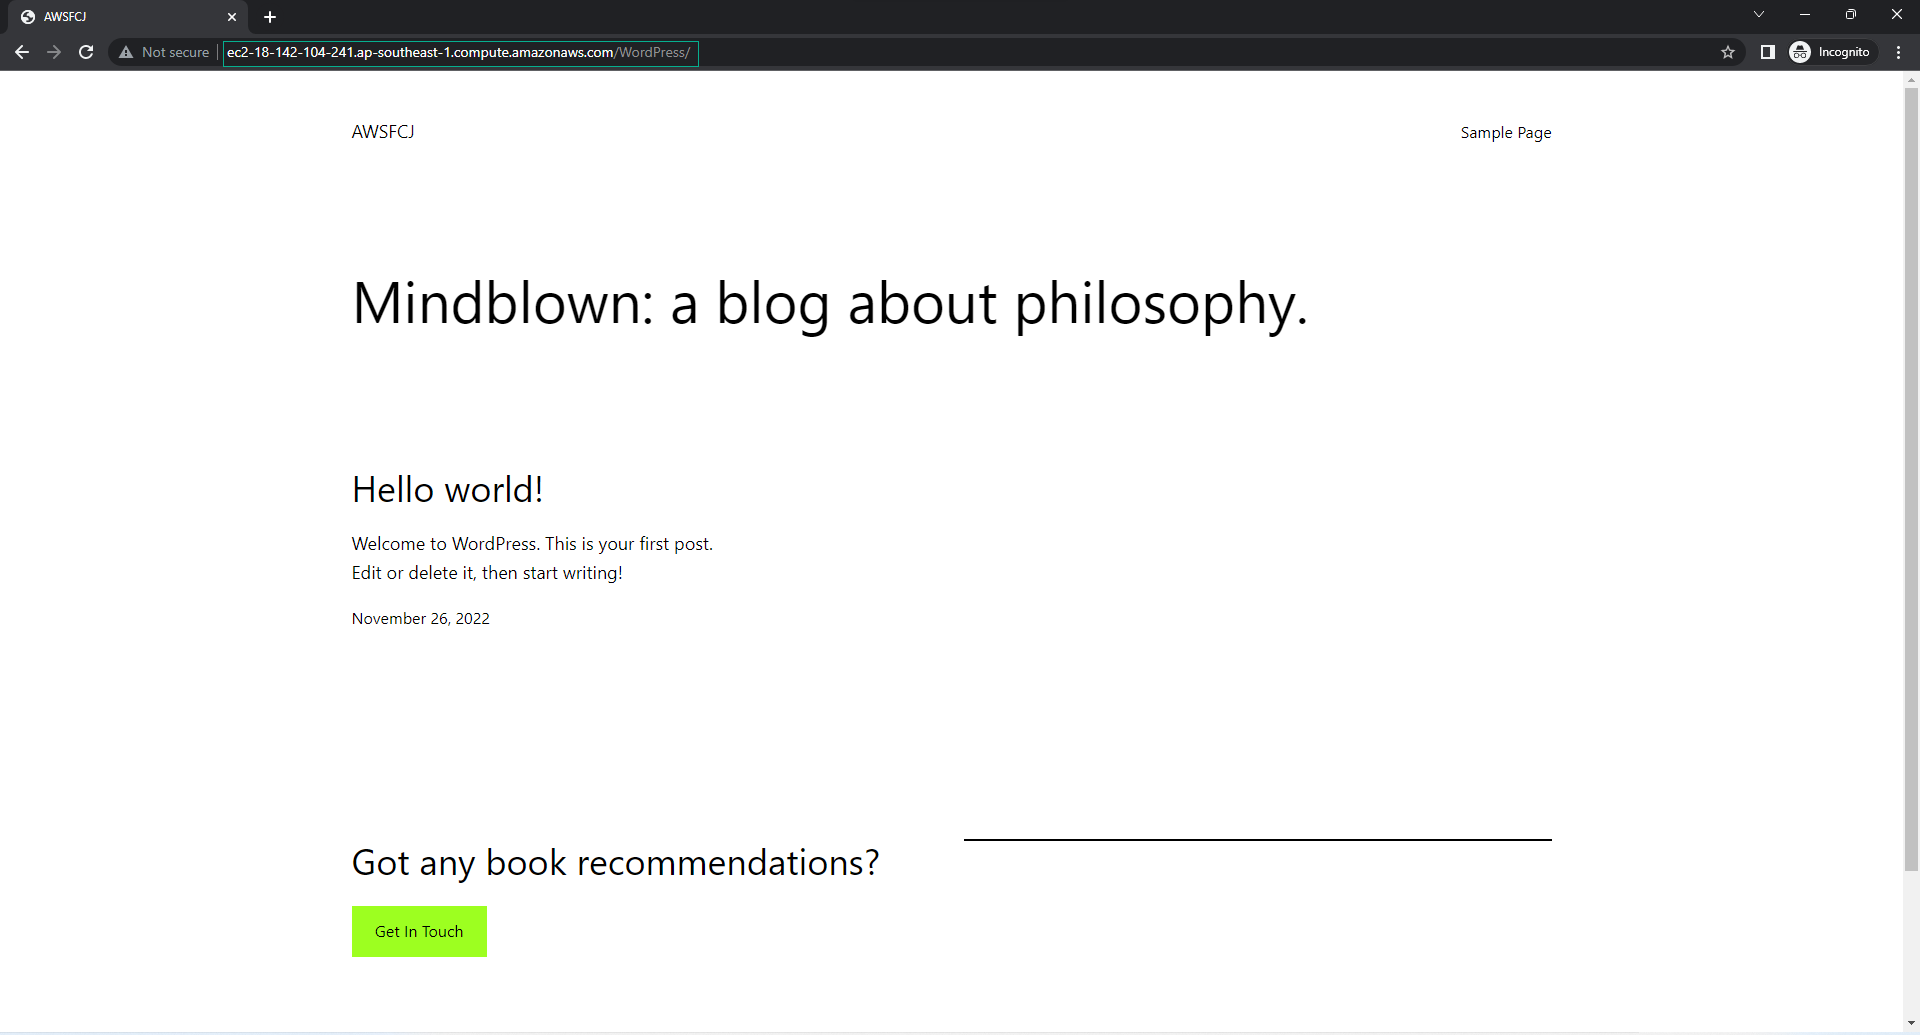
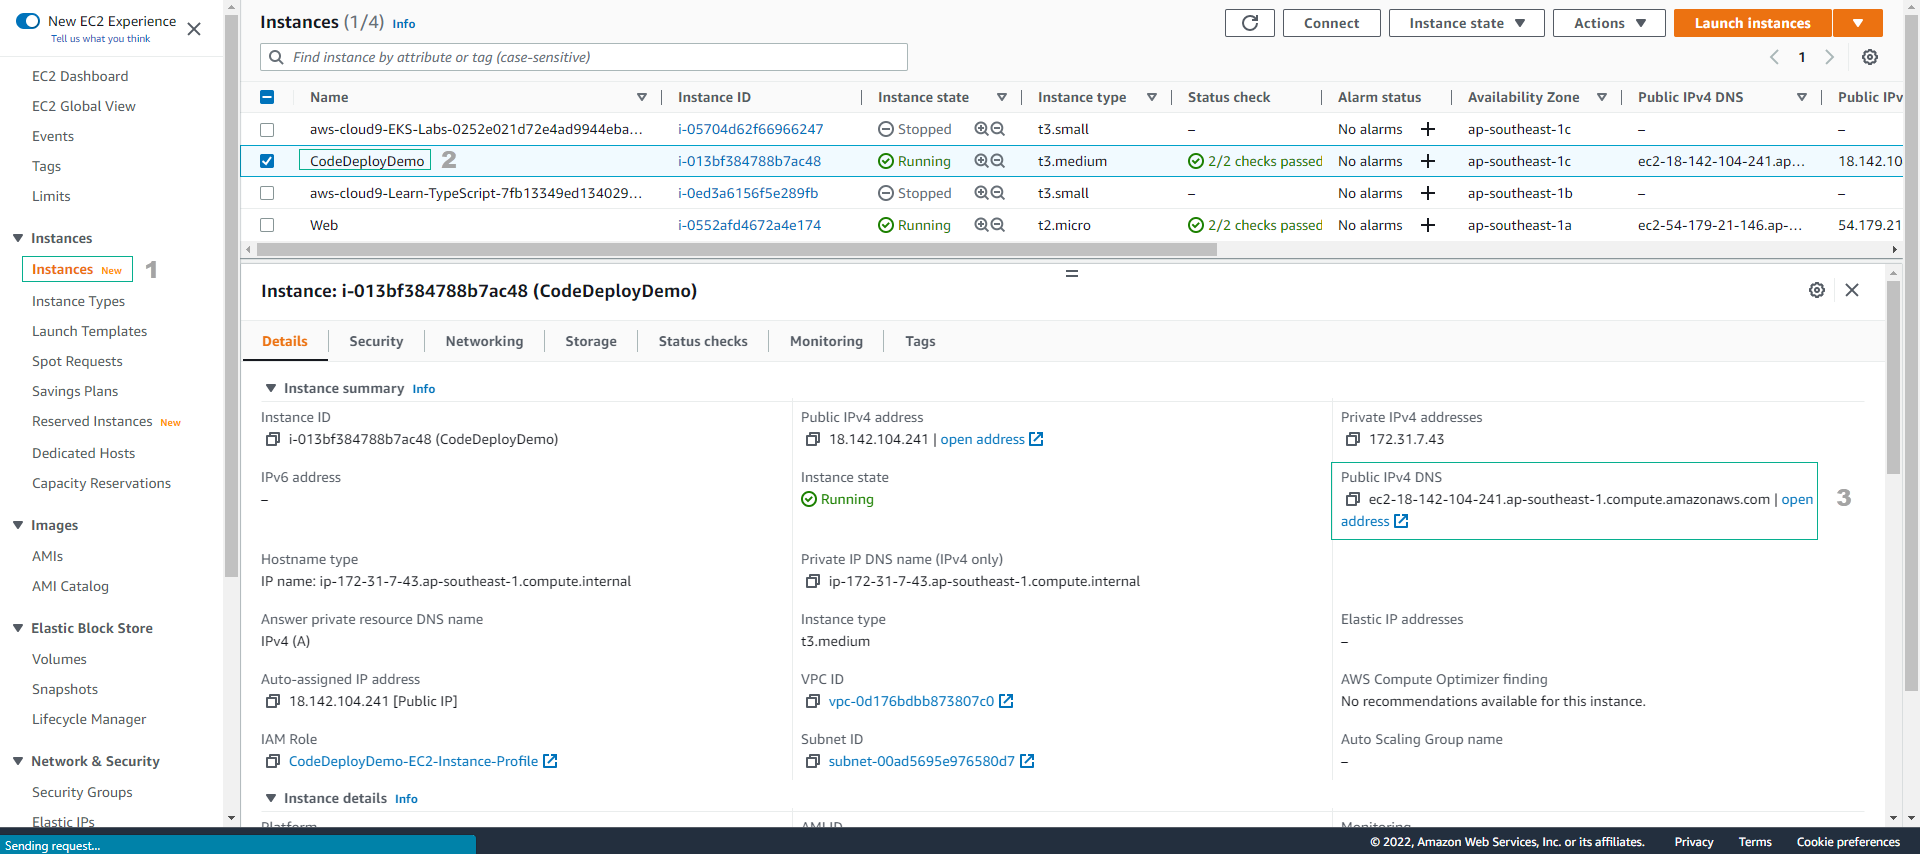
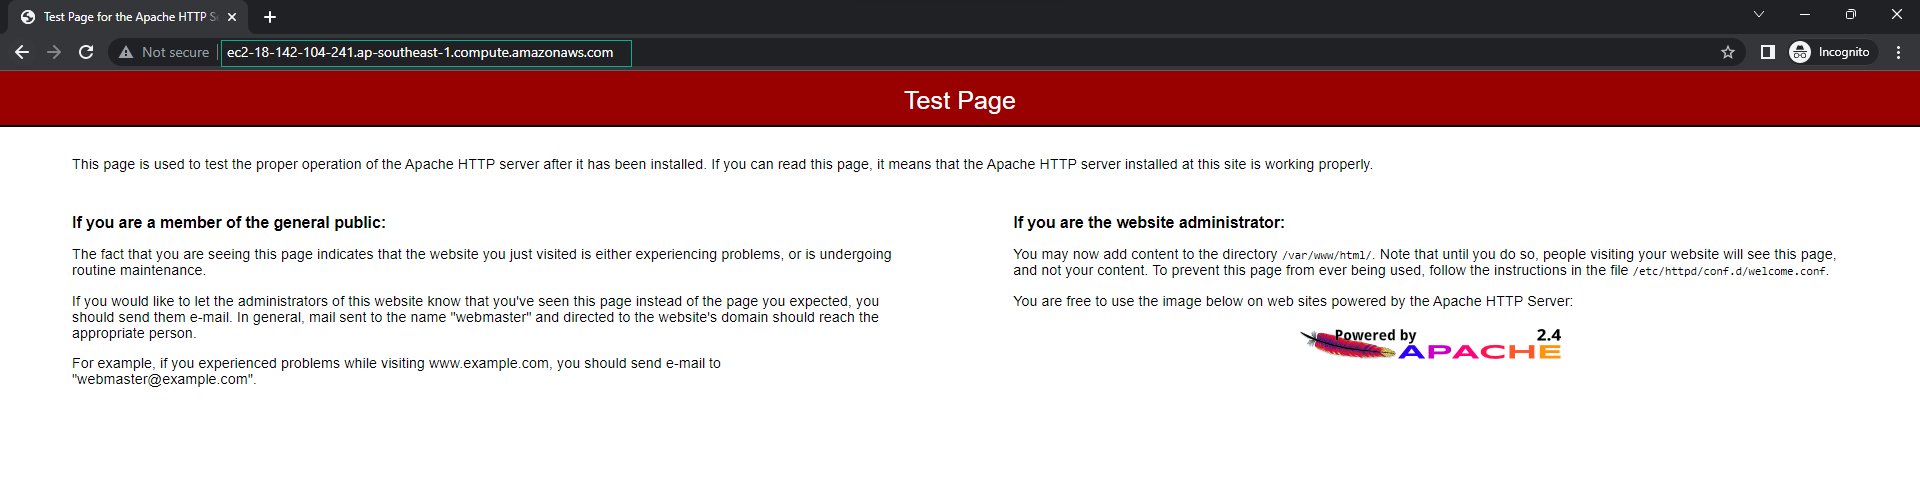
- Check by accessing the WordPress application using the Public IPv4 DNS.
- Successfully accessed the Apache page.
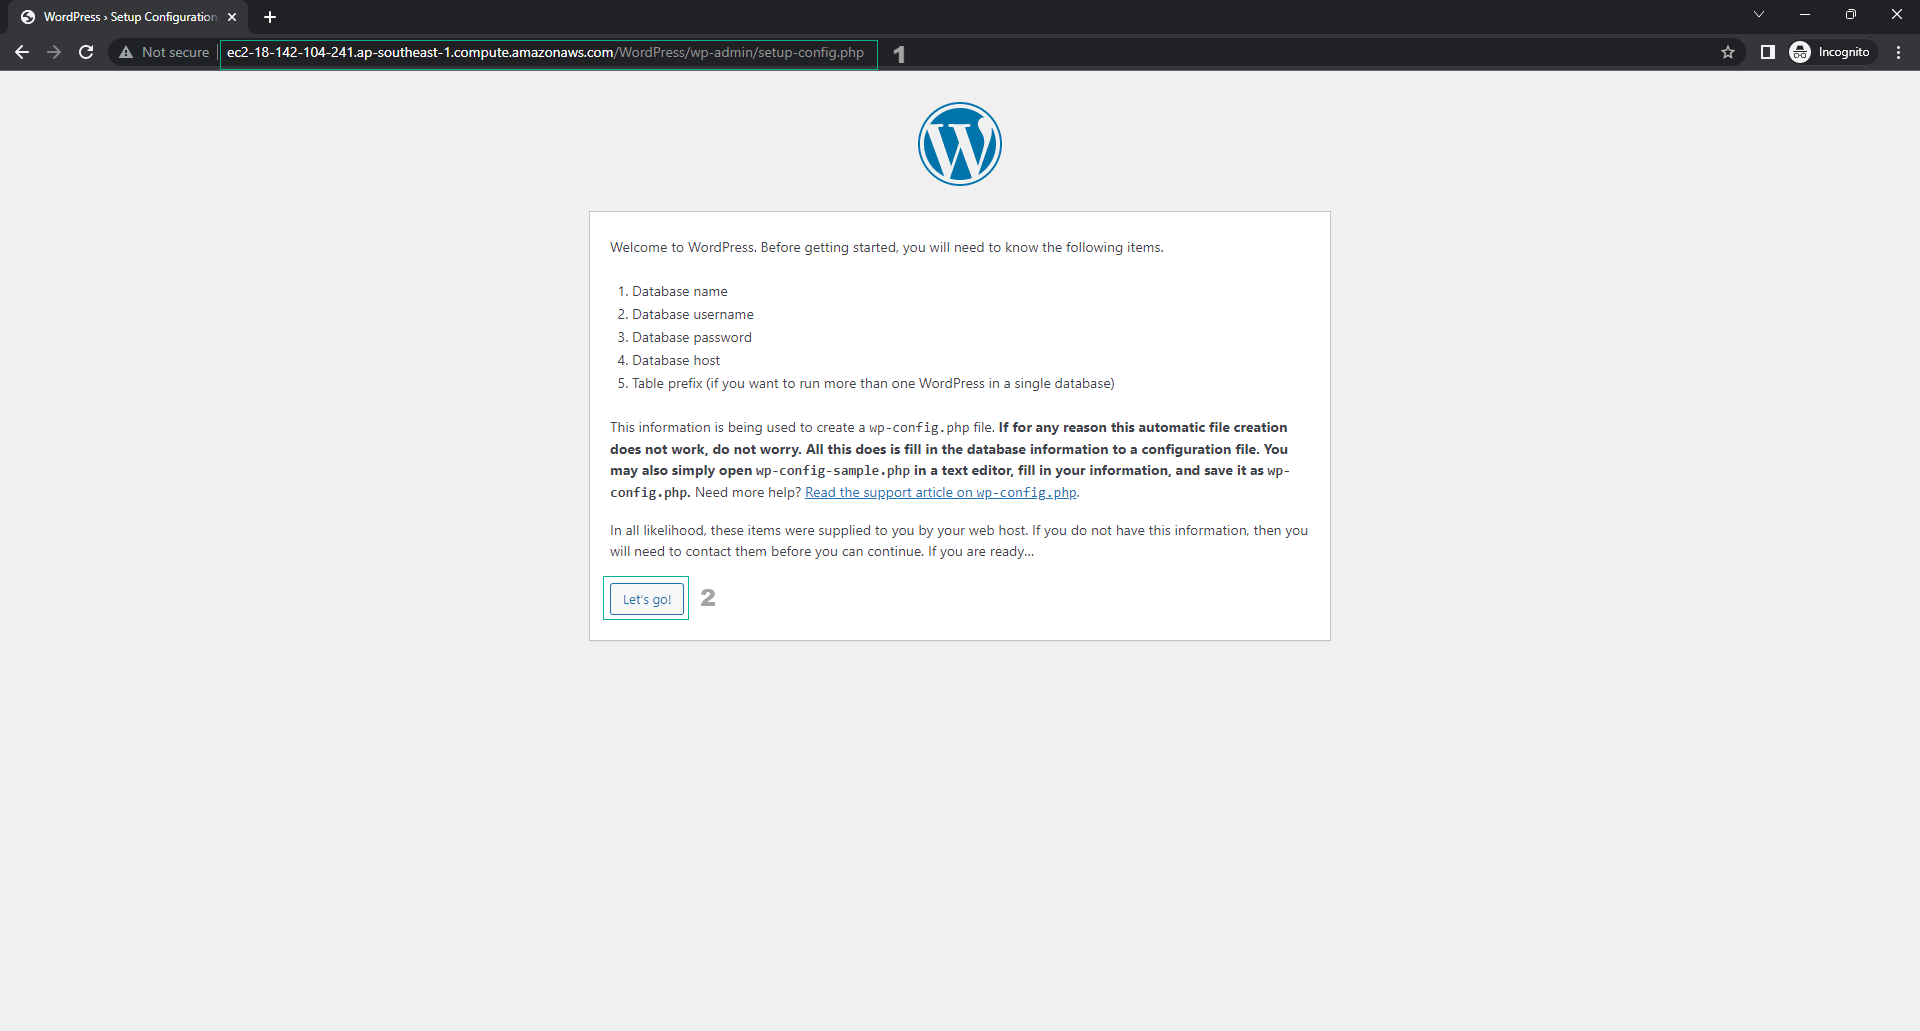
- Navigate to WordPress (append
/WordPress/wp-admin/setup-config.phpto the URL) - Configure WordPress by clicking the Let’s go button.
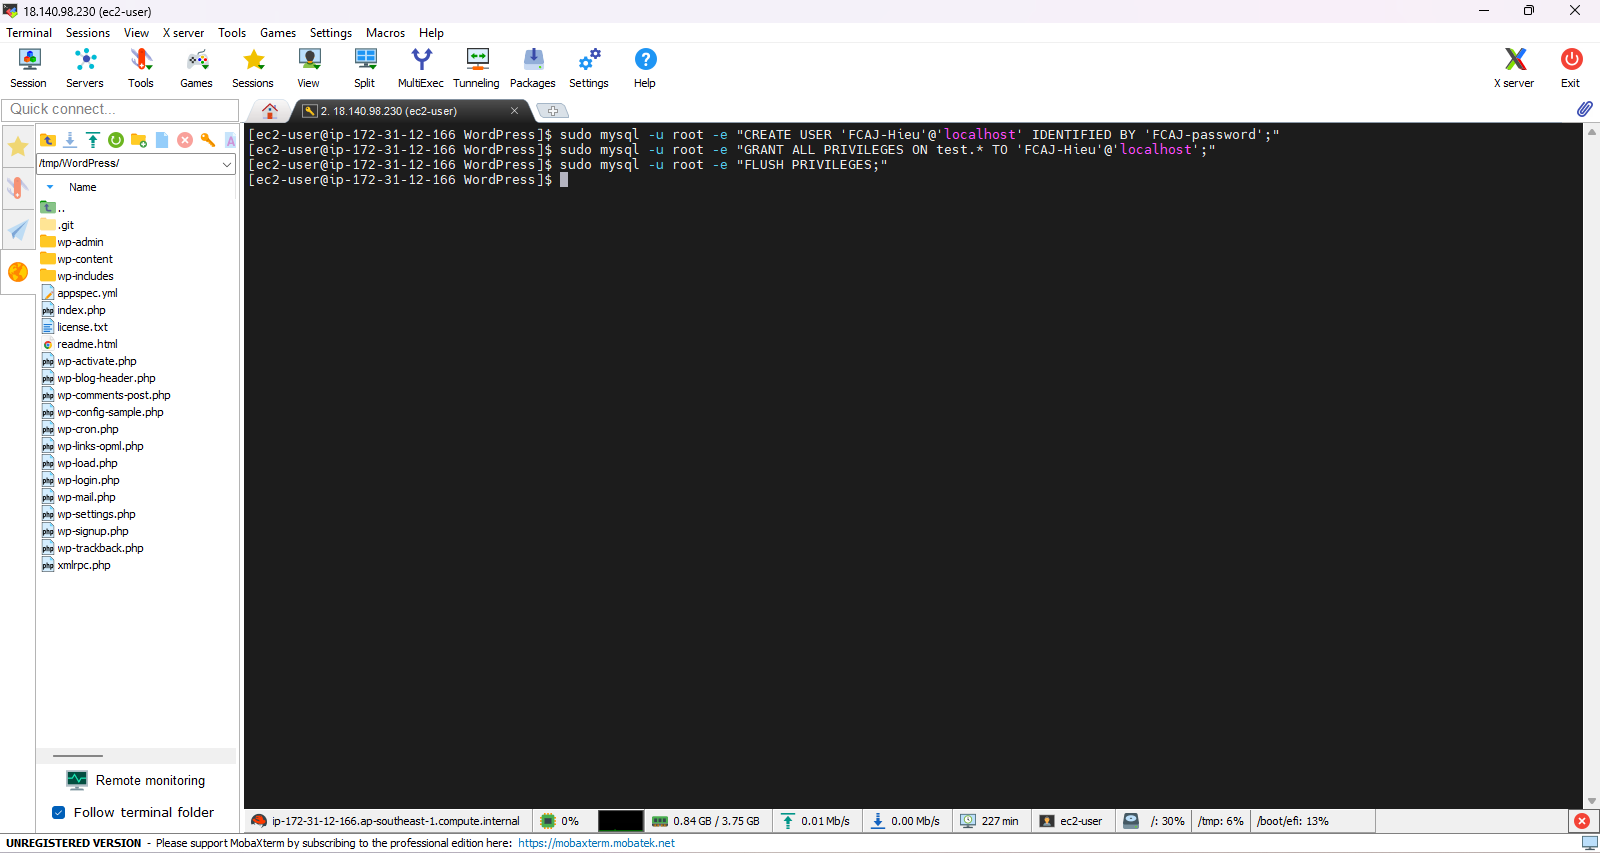
 13. Run commands on EC2 to create a new user with full privileges on the database named test
sudo mysql -u root -e "CREATE USER 'FCAJ-Hieu'@'localhost' IDENTIFIED BY 'FCAJ-password';"
sudo mysql -u root -e "GRANT ALL PRIVILEGES ON test.* TO 'FCAJ-Hieu'@'localhost';"
sudo mysql -u root -e "FLUSH PRIVILEGES;"
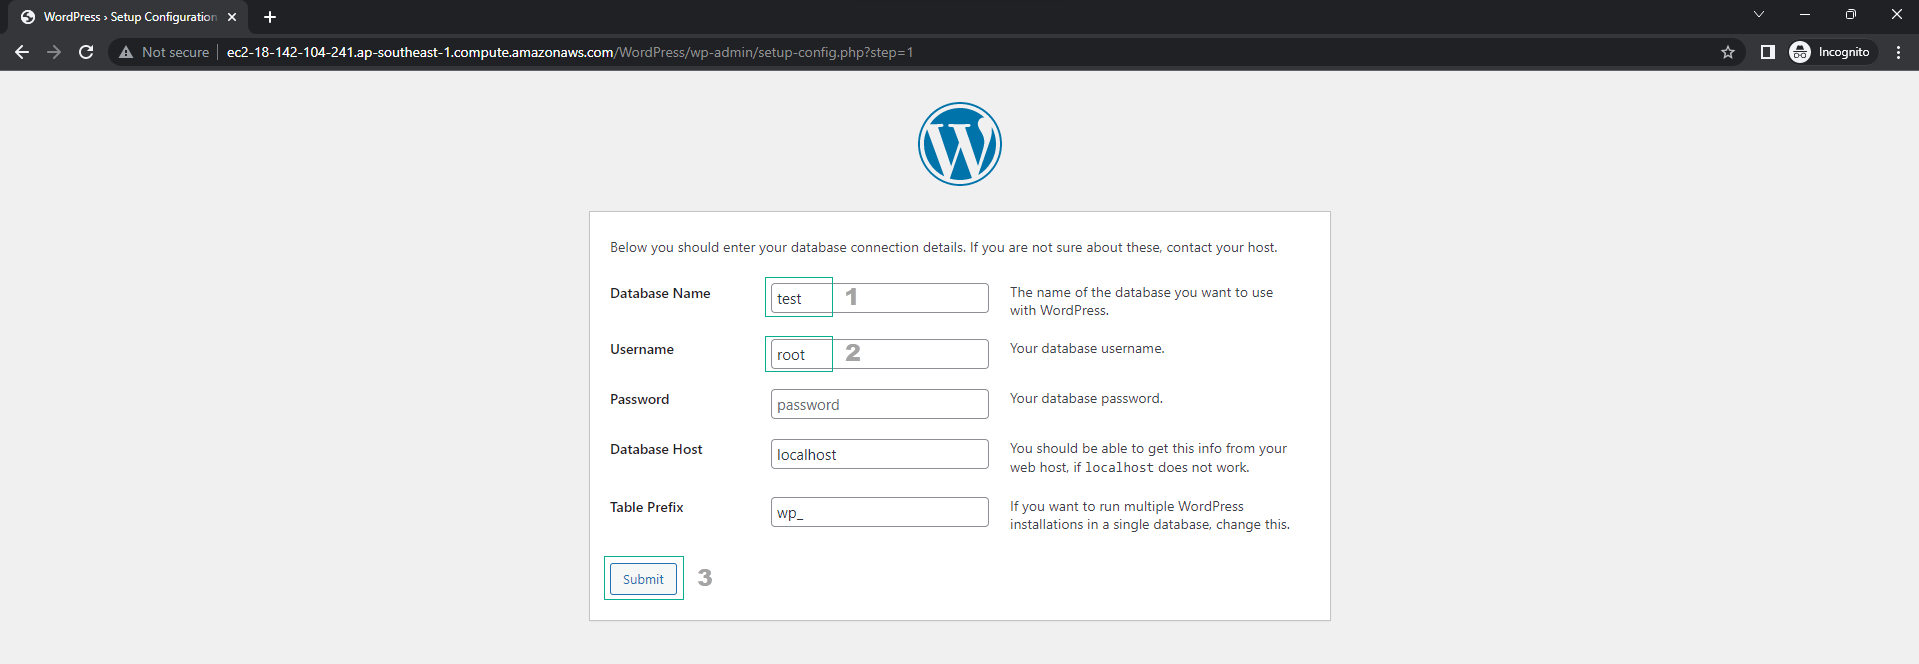
Configure WordPress
- Database name:
test - Username:
FCAJ-Hieu - Password:
FCAJ-password - Database Host: localhost
- Table Prefix: wp_
- Select Submit
- Database name:
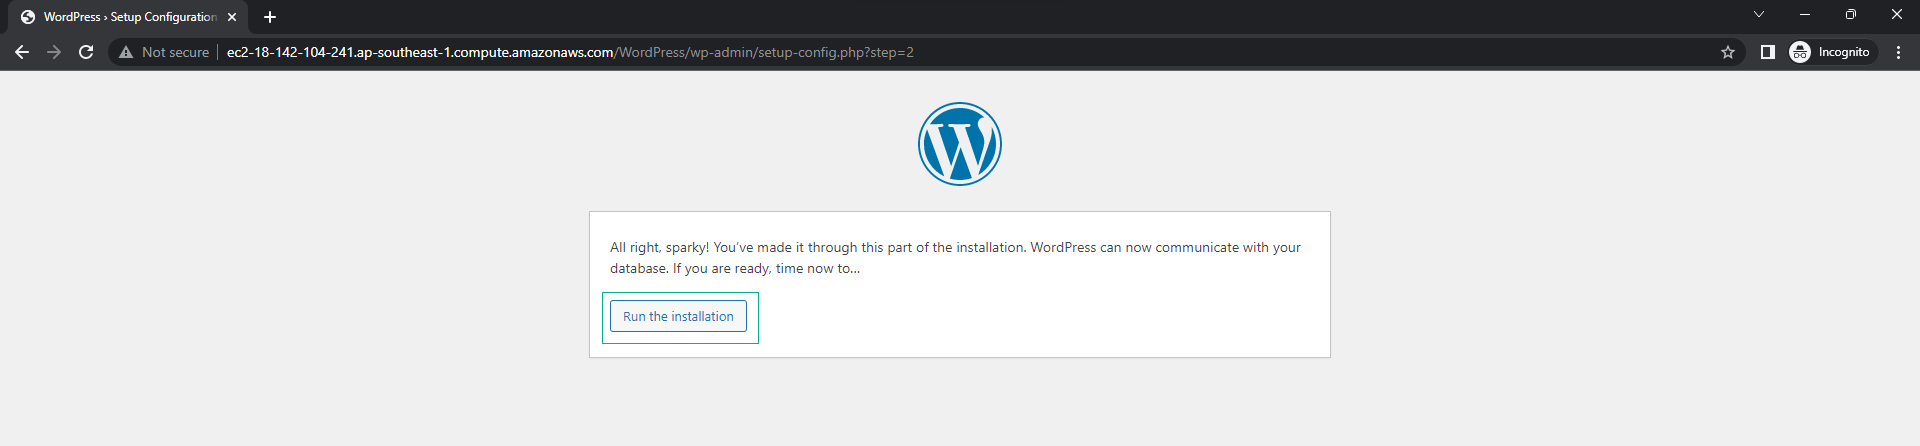
- Select Run the installation
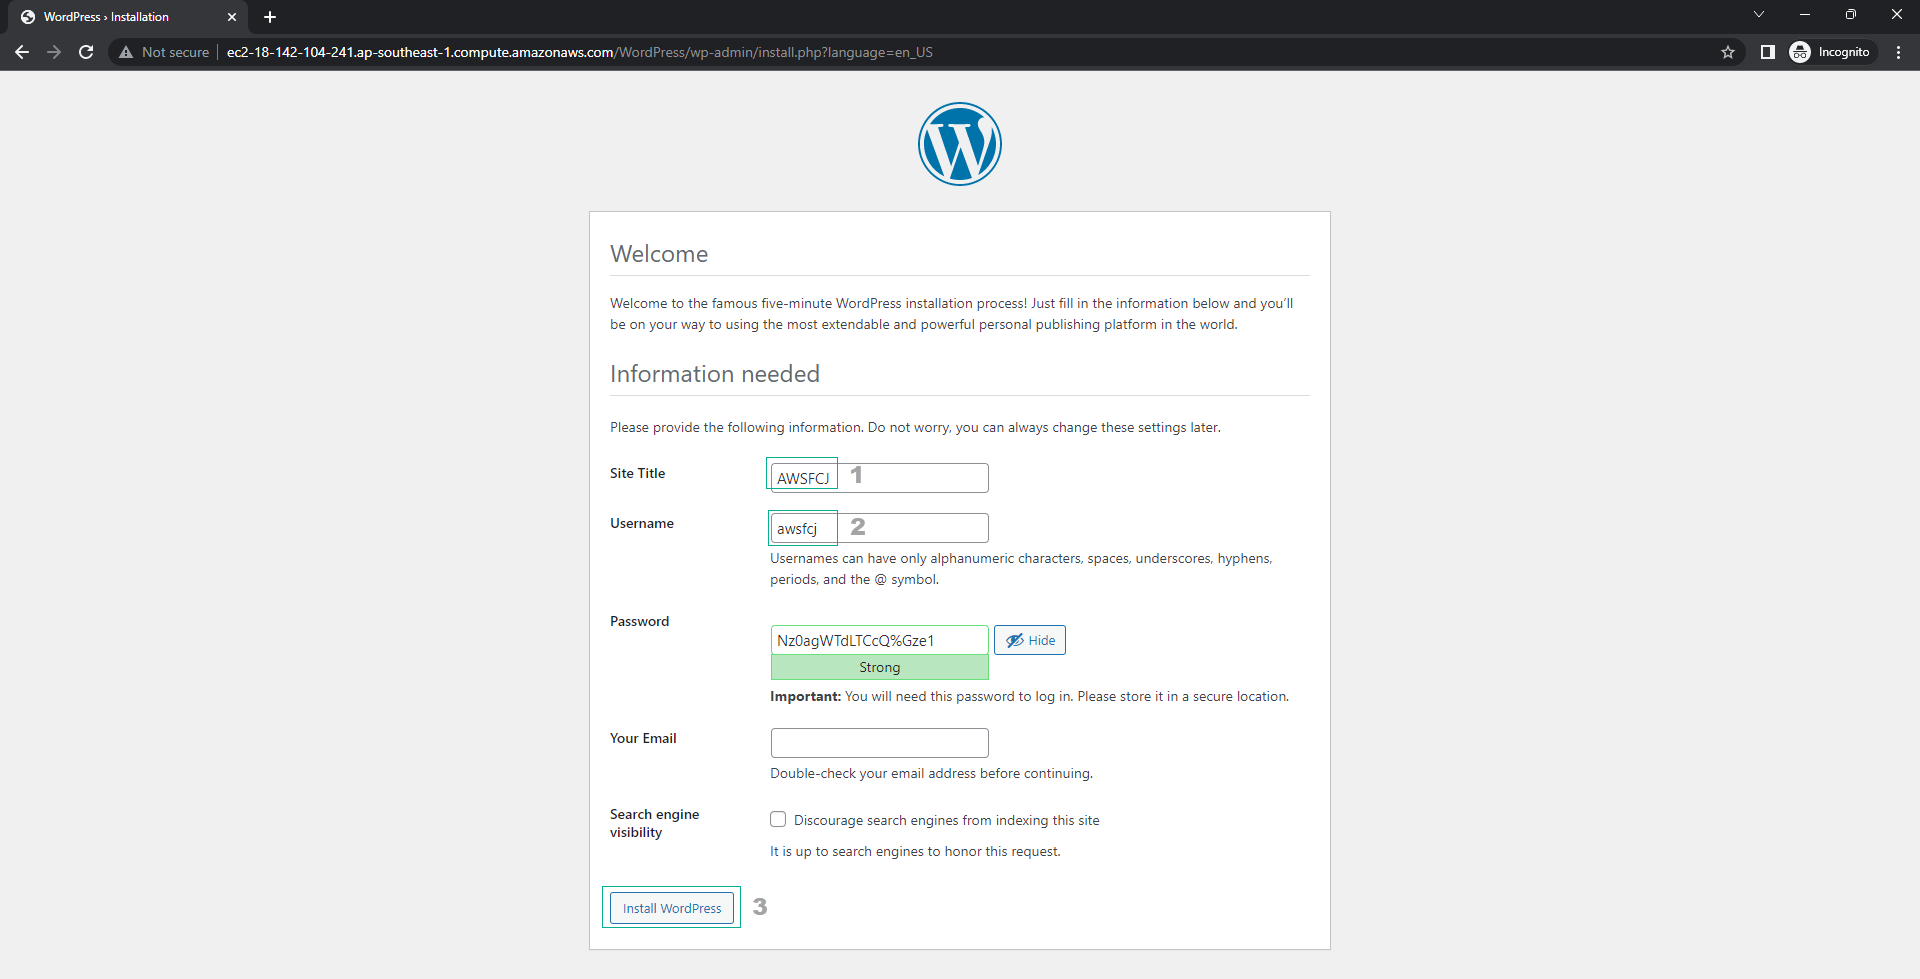
- Fill in all the required information.
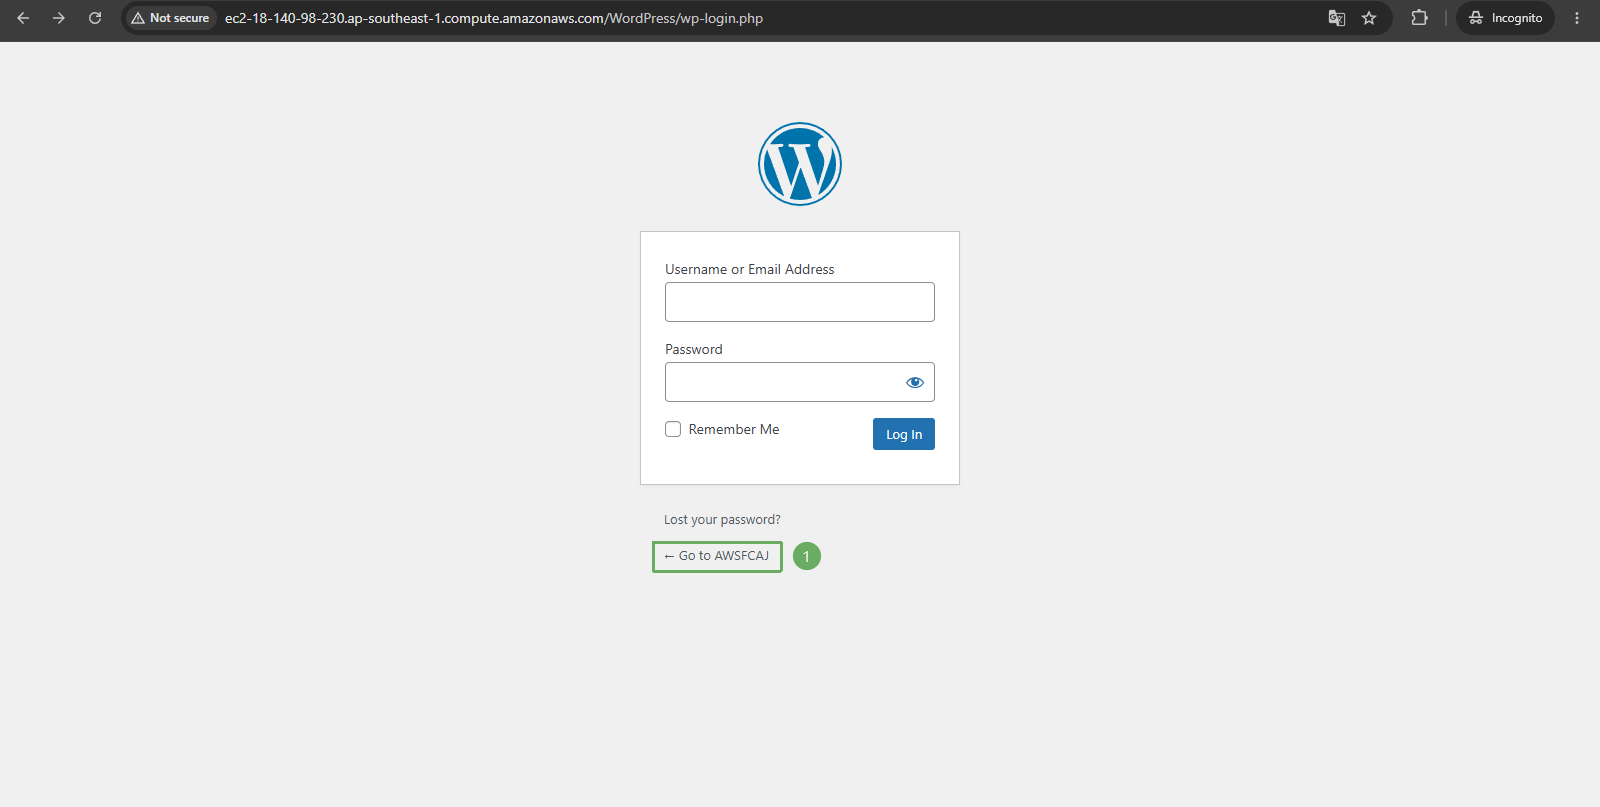
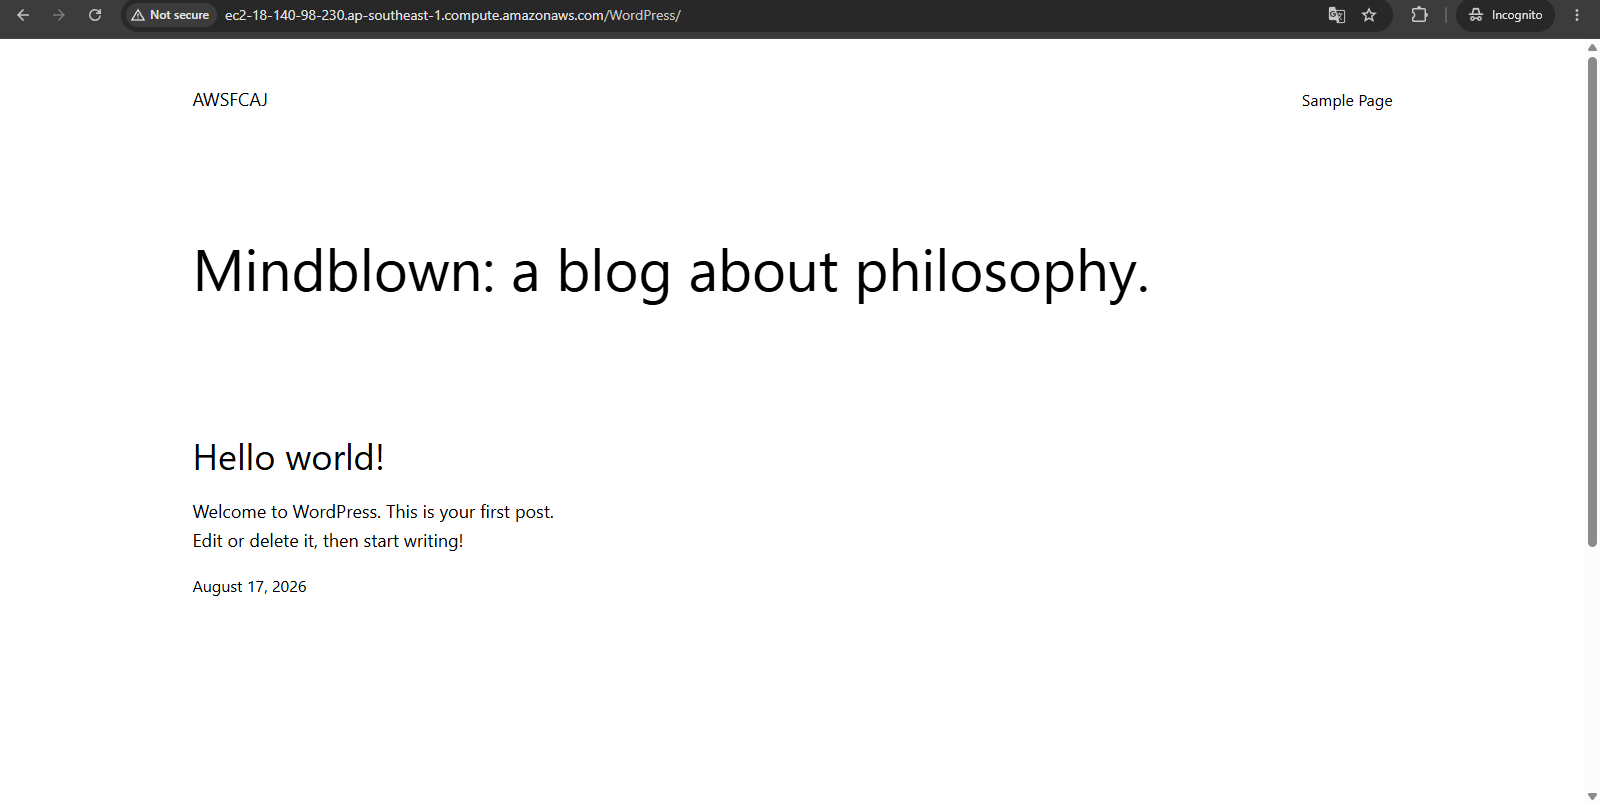
- WordPress interface.