Install CodeDeploy Agent
- SSH into the EC2 instance

- Then, install the CodeDeploy Agent
sudo yum update -y
sudo yum install ruby -y
sudo yum install wget -y
/opt/codedeploy-agent/bin/codedeploy-agent stop
sudo yum erase codedeploy-agent -y
cd /home/ec2-user/
wget https://bucket-name.s3.region-identifier.amazonaws.com/latest/install
chmod +x ./install
sudo ./install auto
- bucket name: is the name of the Amazon S3 bucket containing the CodeDeploy Resource Kit files.
- region-identifier: for example, as follows:
wget https://aws-codedeploy-ap-southeast-1.s3.ap-southeast-1.amazonaws.com/latest/install
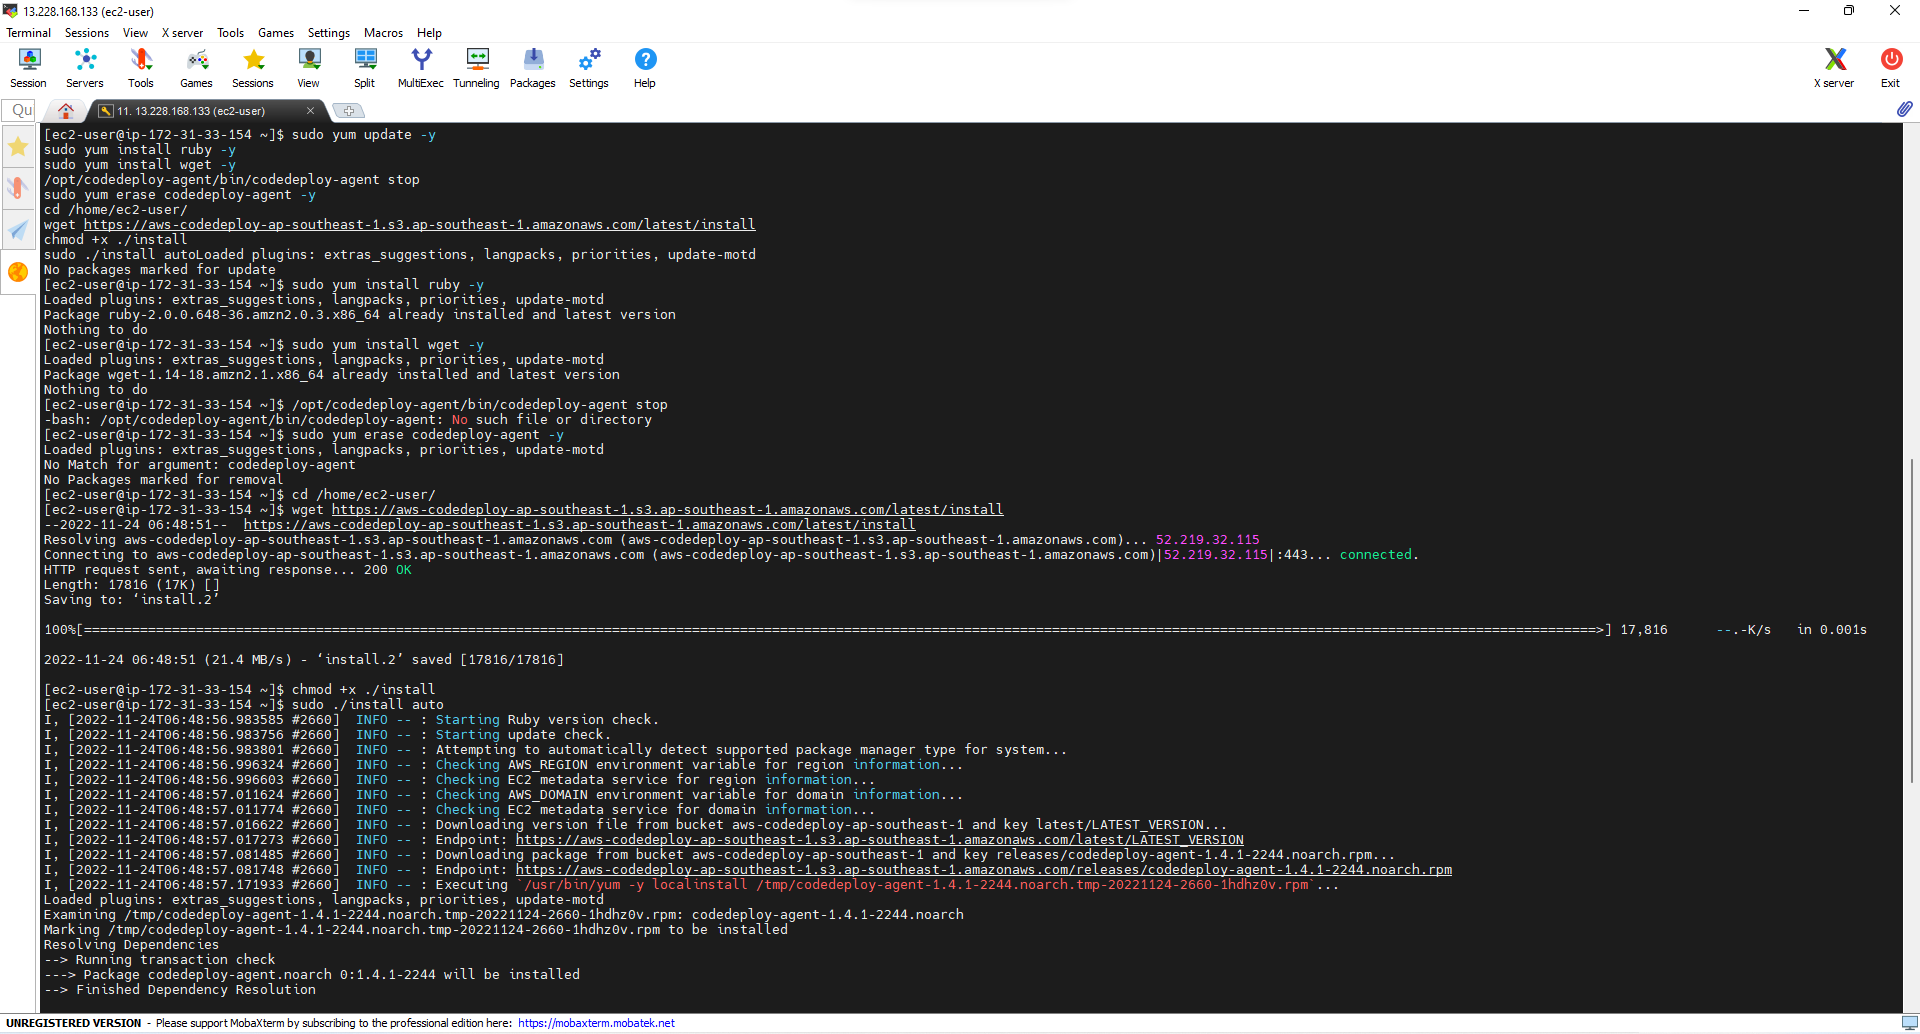
- Check if the service is running using the following command:
sudo service codedeploy-agent status
- If the service encounters an error or is not running, use the following command to start the service:
sudo service codedeploy-agent start
sudo service codedeploy-agent status

- Navigate to the tmp directory
cd /tmp
ls

- Install git to clone resources:
sudo yum install git
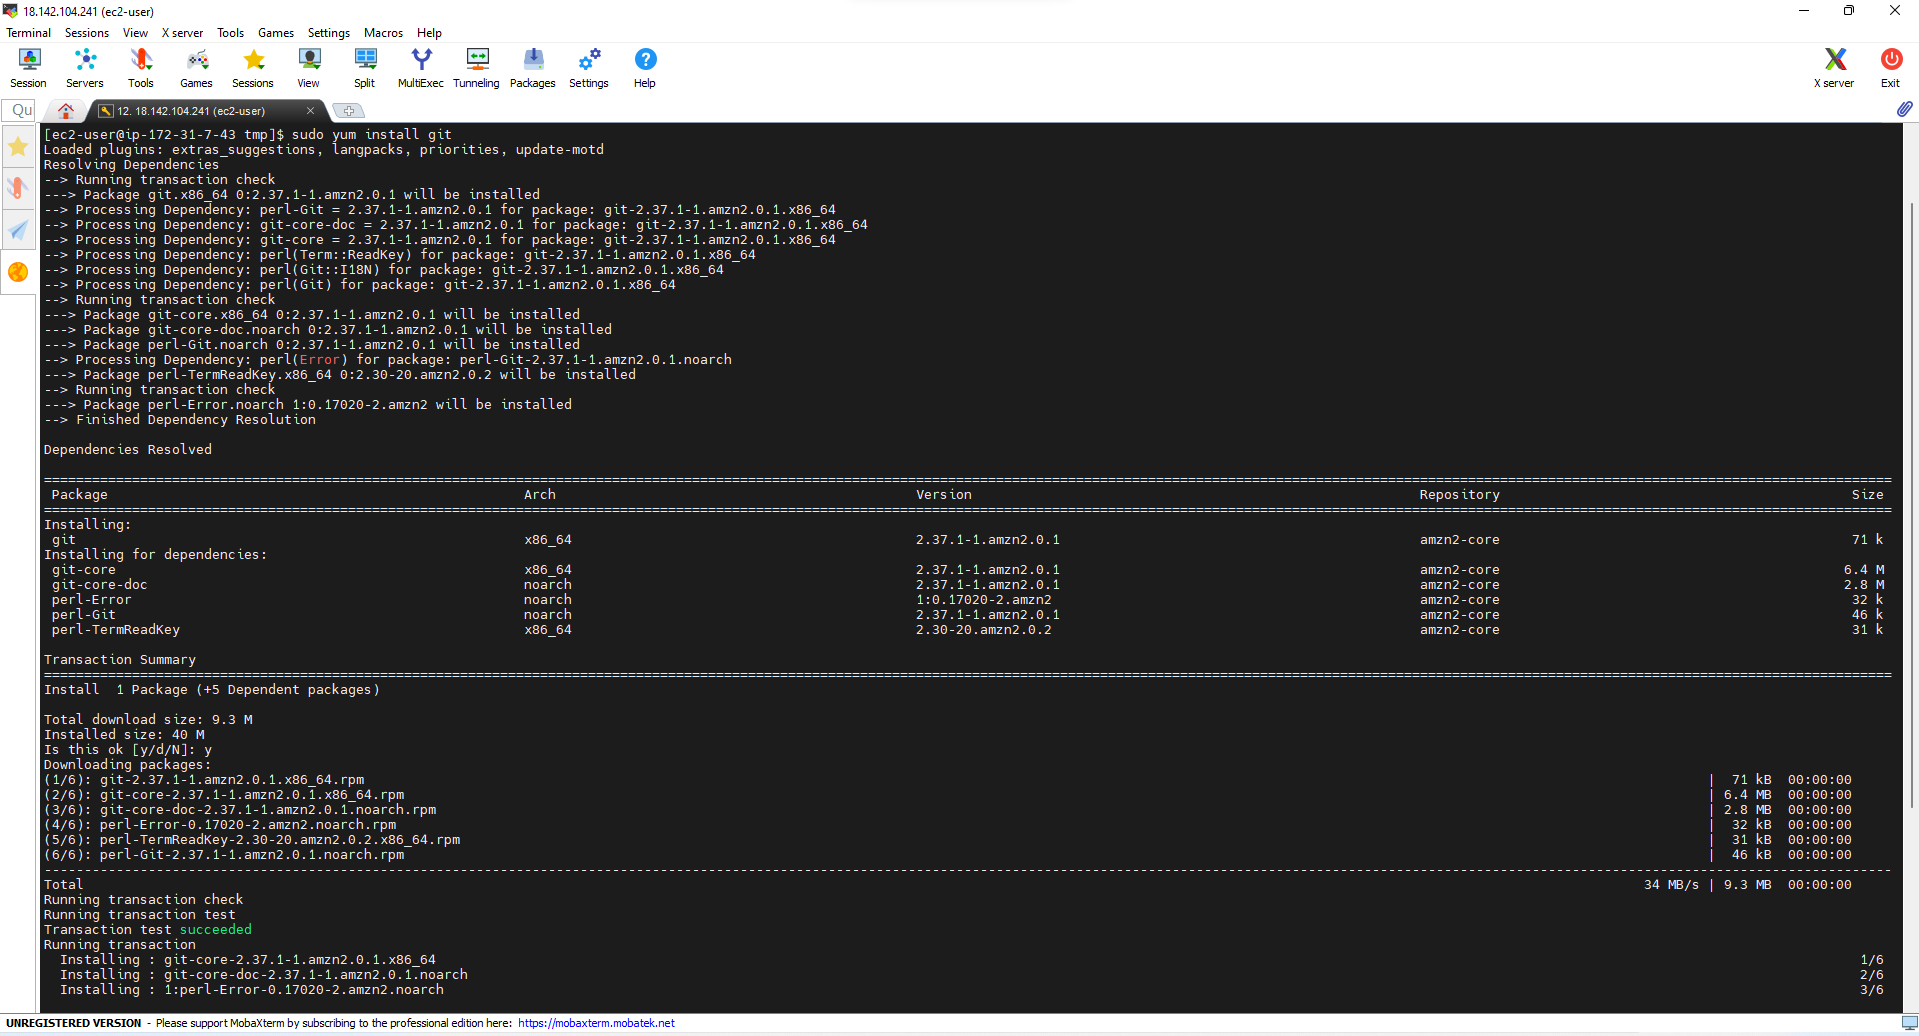
- Clone the WordPress source code.
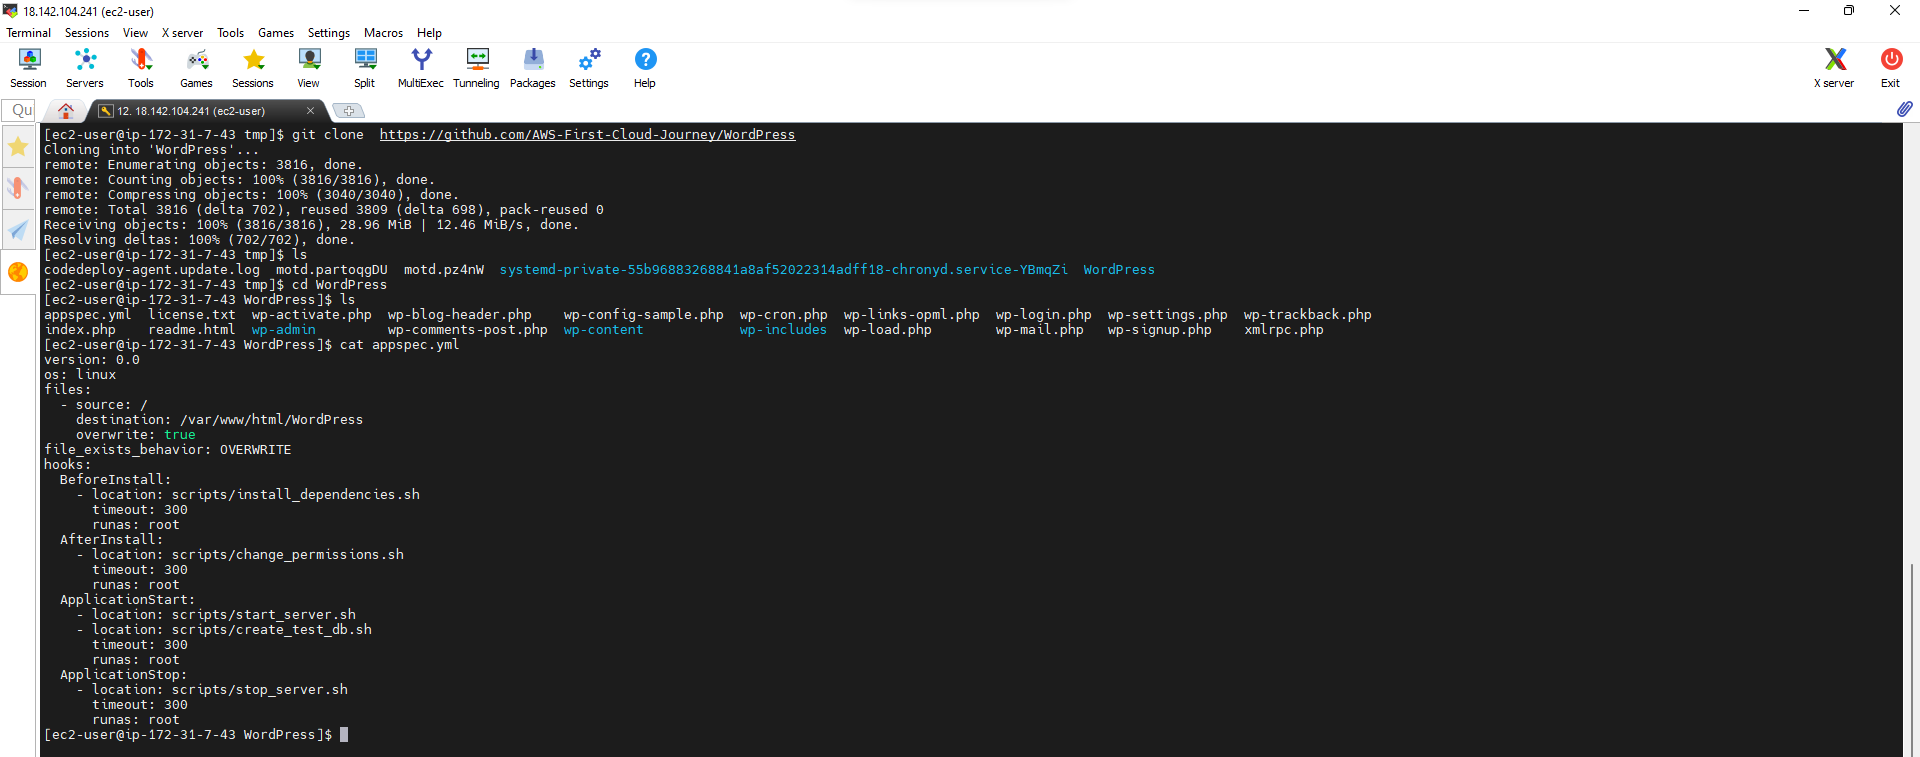
git clone https://github.com/Hieu192/WordPress

- After cloning the WordPress source code:
- Navigate to the directory:
ls
cd WordPress
ls
cat appspec.yml
- You can also view the contents of the
appspec.yml file used to configure the lifecycle deployment.
- Clone the script files configured in the
appspec.yml file
git clone https://github.com/Hieu192/scripts
